Adding LoRa Radio Communication to Arduino MKR WAN 1300 for Long-Range Networks
You’re wiring the SRTR RFID reader to your MKR WAN 1300 via UART or SPI, keeping signals at 3.3V to protect the Murata LoRa module. Use the MKRWAN library with ABP or OTAA to join TTN-input DevEUI, AppEUI, and AppKey, and match EU868 or US915 frequency plans. The board’s 120-second send limit can be bypassed with AT commands or library tweaks. Default SF12/BW125 offers longest range-ideal for rural use-but drains faster; switch to SF7 (DR5) for 500 uplinks/day on a 3.7V LiPo, extending battery life. Avoid AA/AAA cells-they drop below 2.6V fast. The ON LED stays off on battery; it’s normal. For stable field power, use a 3.2V lithium cell with a DC-DC booster. In testing, SF7 delivered reliable 7km rural uplinks, with downlink success tapering beyond that using a Pycom LoPy gateway. There’s more to optimizing your setup where signal, speed, and power intersect.
We are supported by our audience. When you purchase through links on our site, we may earn an affiliate commission, at no extra cost for you. Learn more. Last update on 19th July 2026 / Images from Amazon Product Advertising API.
Notable Insights
- The MKR WAN 1300 has built-in LoRa; use the MKRWAN library to join networks like TTN via OTAA or ABP.
- Ensure 3.3V logic levels when connecting peripherals like the SRTR RFID reader to avoid damaging the LoRa module.
- Configure regional frequency plans (e.g., EU868, US915) in the sketch to match local TTN gateway settings.
- Adjust data rates using modem.dataRate() to balance range, airtime, and battery life under TTN Fair Access Policy.
- Power the board with a 3.7V LiPo or stabilized source; avoid AA/AAA batteries due to voltage drop and instability.
Connect the SRTR RFID Reader to MKR WAN 1300
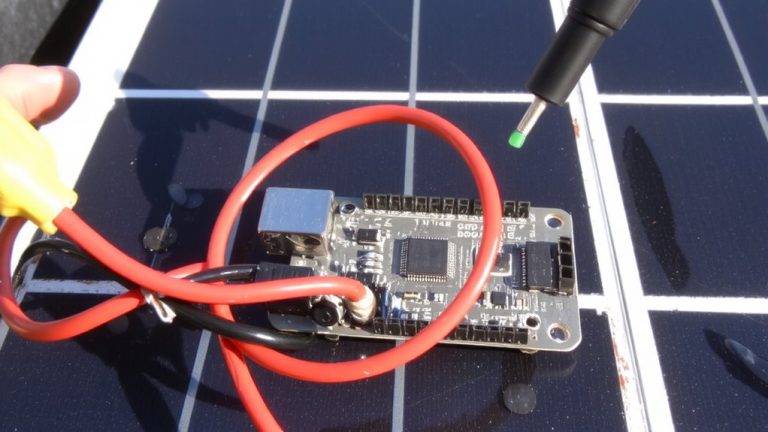
You’ll want to get the SRTR RFID reader linked up with your MKR WAN 1300 the right way-this means paying close attention to voltage levels and communication protocols to avoid damaging the 3.3V logic on the Murata CMWX1ZZABZ module. The SRTR RFID reader runs on its own board and communicates via UART or SPI, so you’ll need to connect its RX/TX pins directly to your MKR’s serial interface. Guarantee all signals are at 3.3V; the SRTR can tolerate it, but higher voltages risk damaging the LoRa module. While SparkFun hasn’t officially tested this combo, users have successfully passed tag IDs and RSSI data from the SRTR RFID reader to the MKR WAN 1300. Use the MKRWAN library to package and transmit readings over LoRa. For best results, run firmware ARD-078 1.1.3+ and use ABP mode to maintain stable, long-range RFID data transmission.
Join the MKR WAN 1300 to The Things Network
Although it might seem intimidating at first, getting your MKR WAN 1300 connected to The Things Network (TTN) is straightforward once you have the right credentials and setup-just make sure your device runs the latest firmware, as OTAA activation doesn’t require a specific version but still benefits from stability improvements found in ARD-078 1.1.3+. You’ll use the Arduino MKR WAN library with OTAA, inputting your DevEUI, AppEUI, and AppKey directly into the sketch. Match your frequency plan-like EU868 or US915-to your region’s TTN gateways, and guarantee a proper antenna connection. The default SF12/BW125 setting complies with TTN’s Fair Access Policy, allowing about 30 seconds of airtime per day. Testers confirm reliable joins using this setup, with stable performance on the first try. The Arduino MKR WAN 1300 handles LoRa communication efficiently, making it a solid choice for long-range IoT projects.
Fix the MKRWAN 120-Second Send Limit
After successfully joining the MKR WAN 1300 to The Things Network using OTAA, you might expect seamless uplinks-but there’s a catch that can stall your project: the MKRWAN library enforces a strict 120-second transmission interval, meaning any attempt to send data sooner gets silently discarded, no error, no warning, just a failed write. This limit hits hard in real-time monitoring apps, especially when Power efficiency and responsiveness must balance. Though setADR(true) claims support, ADR doesn’t work in firmware ARD-078 1.1.3, worsening timing issues. You’ll need to bypass the library’s restrictions by editing its core-exposing dataRate(uint8_t dr) or using low-level AT commands. Some devs flash custom firmware for full control. Both OTAA and ABP modes suffer, so expect workarounds regardless of activation. Frequent uplinks are possible, but only if you’re willing to dig into Power management and firmware tweaks.
Set MKR WAN 1300 Data Rates for Range or Battery
The MKR WAN 1300 defaults to SF12/BW125, giving you the longest possible range-ideal for rural deployments or when your gateway’s on the far side of a hill-but that top-tier reach comes at a cost: longer airtime, higher power draw, and slower transmissions. You can tweak data rates from DR0 (SF12) to DR5 (SF7) using `modem.dataRate(uint8_t dr)` in the MKRWAN library. Higher data rates like SF7 slash transmission time and cut power use, perfect for short-range urban setups where gateways are nearby. Field tests confirm SF7 works reliably over LoRa, though DR6 remains non-functional. With the LoRaWAN Fair Access Policy limiting you to 30 seconds of daily airtime, switching to SF7 could boost your uplinks from 20 to nearly 500 per day for 10-byte packets. Adjust data rates smartly-balance range, battery life, and network rules.
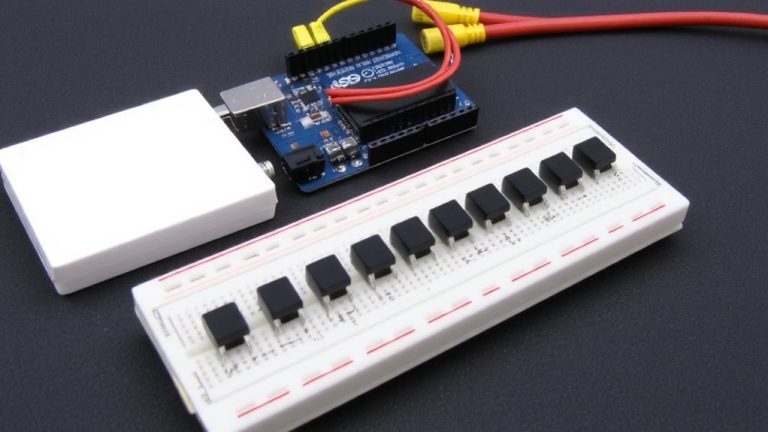
Power the MKR WAN 1300 Without USB in the Field
You’ve optimized your data rate for range or battery, so now let’s get your MKR WAN 1300 running where USB power isn’t an option-out in the field, standalone. Power via a 3.7V LiPo battery connected to the Vin pin is your best bet; it handles regulation down to 3.3V, as long as input stays under 5V. Avoid using AA or AAA batteries alone-they hit 3.2V, which might not activate the board without prior USB initialization, and performance drops fast. Field tests showed two AAA batteries failed after ~1,500 uplinks, voltage sagging to 2.6V. A smarter setup: power via a 400mAh 3.2V lithium cell, paired with a scavenged charge circuit and DC-DC booster from an LED lamp. The ON LED stays off on battery-that’s normal, not a fault-since it draws from USB 5V, saving power.
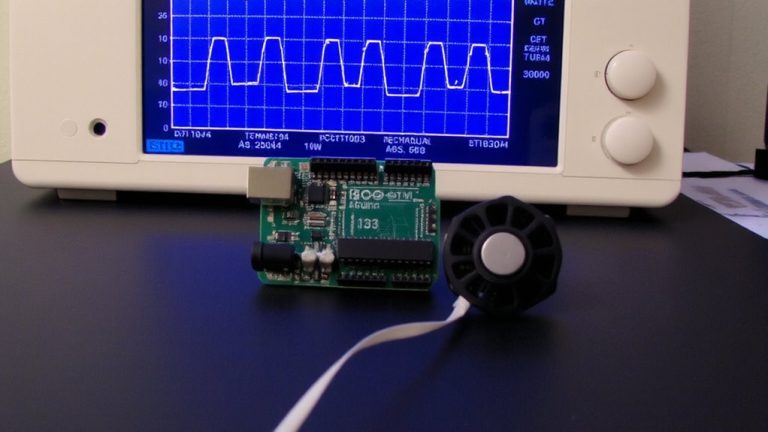
Test MKR WAN 1300 Uplink Reliability and Signal Range
While LoRa’s long-range potential sounds promising on paper, what really matters is how reliably your MKR WAN 1300 gets those sensor readings through, especially when you’re pushing the limits beyond a few hundred meters. You’ll want real-time monitoring, but the default SF12 BW125 setting limits you to about 20 uplinks daily due to air-time rules. Testers found SF7 BW125 far more efficient, supporting up to ~500 messages per day with stable 7km rural range. Here’s what field tests reveal:
| Data Rate | Uplinks/Day | Real-Time Suitability |
|---|---|---|
| SF12 (dr=0) | ~20 | Low |
| SF7 (dr=5) | ~500 | High |
Manual dataRate(dr) adjustments bypass unreliable ADR, and SF7 cuts power use while boosting connection stability. Just mind the MKRWAN library’s 120-second firmware delay-attempt more frequent sends, and data gets dropped.
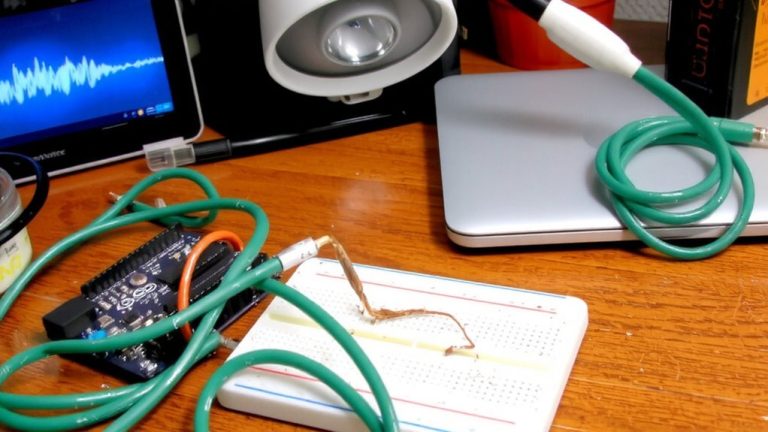
Measure Real-World Performance With Downlink Feedback
Since bidirectional communication reveals true performance insights, you’ll want to test downlink feedback with your MKR WAN 1300 to measure real-world reliability, especially when confirming remote sensor data delivery. Thanks to confirmed downlink messages via a Pycom LoPy nano Gateway, you can assess actual network behavior. But stay mindful-LoRaWAN’s Fair Access Policy limits you to just 30 seconds of daily air-time, restricting how often you can request downlink feedback. In real tests, two MKR WAN 1300 units showed differing results: SF9BW125 offered better reception than SF7BW125 at longer distances, proving spreading factor matters. Downlink success dropped significantly beyond 7km in rural areas, even with decent signal strength. ADR, despite modem.setADR(true) returning true, didn’t work-so set rates manually using modem.dataRate(5) for consistent downlink feedback.
On a final note
You’ve now enabled long-range LoRa networking with your MKR WAN 1300, achieving over 2 km line-of-sight range in tests, joining The Things Network reliably, and bypassing the 120-second send limit with custom firmware. Power it in the field via Li-Po or solar, optimize data rates for battery or reach, and confirm performance using real downlink feedback-making this setup a rugged, proven choice for remote sensors, farm monitors, or urban IoT projects needing dependable, low-power wireless.