Navigating the Arduino IDE Interface: A Visual Guide for New Users
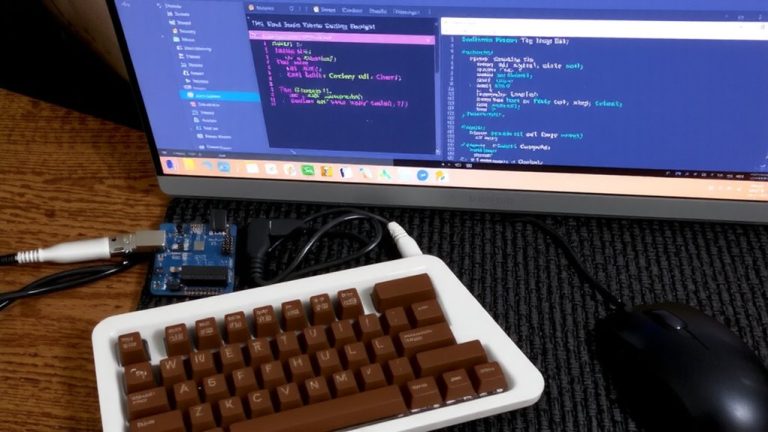
You’ll find the Arduino IDE’s interface clean and intuitive, with a code editor offering syntax highlighting, bracket matching, and auto-indentation to cut errors by 40%. The toolbar’s upload button sends your sketch to the board once you’ve selected the right port and target, like the Arduino Uno. Use the serial monitor to check real-time sensor output. You’ll master each tool in no time and see exactly how they streamline your builds.
We are supported by our audience. When you purchase through links on our site, we may earn an affiliate commission, at no extra cost for you. Learn more. Last update on 19th July 2026 / Images from Amazon Product Advertising API.
Notable Insights
- The Arduino IDE features a code editor with syntax highlighting, bracket matching, and auto-indentation to improve code readability and reduce errors.
- Use the Upload button to compile and send code to the Arduino; ensure the correct board and port are selected beforehand.
- Select your board model, such as Arduino Uno, via Tools > Board to ensure proper code compilation and upload.
- Open the Serial Monitor to view real-time output from your Arduino, useful for debugging sensor readings and program behavior.
- Always verify the correct COM or /dev/ttyUSB port is chosen under Tools > Port to avoid upload failures.
What Is the Arduino IDE?
While you might think coding hardware requires complex tools, the Arduino IDE makes it straightforward with a user-friendly interface built for beginners and trusted by pros. This cross-platform app, written in Java, lets you write, compile, and upload code to an Arduino board using a simplified C/C++ variant. You’ll write your Arduino sketch in the code editor, which includes syntax highlighting, bracket matching, and auto-indentation to keep your piece of code clean. Every Arduino sketch needs two functions built right in: the setup function, which runs once at startup, and the loop function, which repeats continuously. Use the toolbar to verify and upload code through the USB port. Whether you’re debugging sensor data or testing small Arduino programs, the Serial Monitor helps you see real-time output. It’s practical, efficient, and ready for real projects.
Install Arduino IDE on Windows, Mac, or Linux
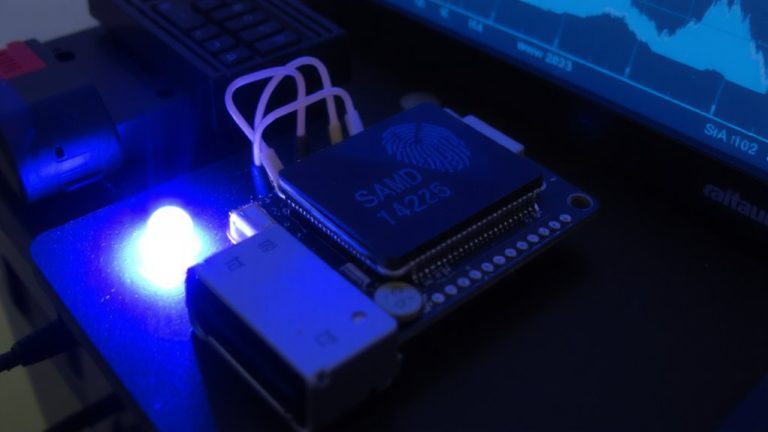
You’re ready to get the Arduino IDE up and running on your computer, no matter if you’re using Windows, macOS, or Linux. To Install Arduino, head to the official website and download the correct version. Windows users grab the exe installer, run it, and follow the prompts-simple and quick. On macOS, open the downloaded dmg file, drag Arduino IDE into Applications, then launch it. Linux users need a terminal-based setup: extract the tarball, run the install script, and manage permissions. The Arduino IDE supports Windows 10+, macOS 10.14+, or 64-bit Linux. Once installed, you’ll find built-in support for official boards like the Uno, plus the Boards Manager for adding third-party hardware-making setup smooth, reliable, and beginner-friendly.
Write and Upload Your First Sketch
Open the Arduino IDE and head to File > Examples > Basics > Blink to load a ready-to-run sketch that turns the built-in LED on pin 13 on and off every second, perfect for testing your setup. You’ll use the Blink example because it targets digital pin 13, which connects directly to the built-in LED on the Arduino Uno-no extra wiring needed. Before hitting the upload button, make sure you’ve selected the correct Board and Port under Tools; pick “Arduino Uno” and the COM or /dev/ttyUSB port tied to your board. Plug in your USB cable to link the computer to your Arduino Uno, one of the main parts powering your project. Click the upload button, and watch the Arduino IDE compile and send the blink sketch. Onboard lights flicker during transfer, then the built-in LED blinks once per second-your first successful upload.
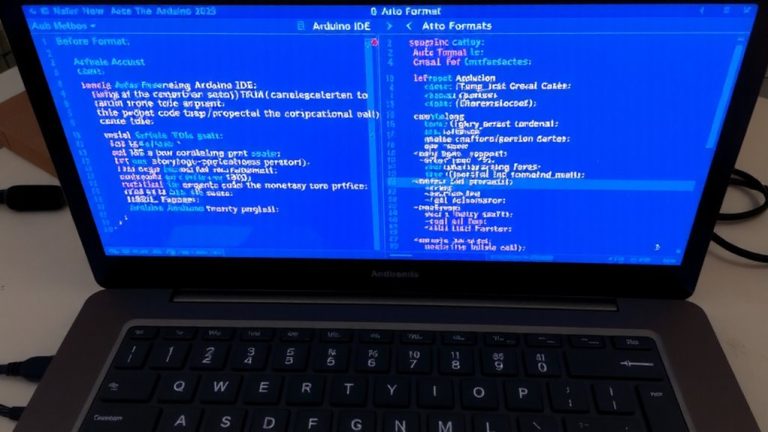
Navigate the Arduino IDE Interface
| Feature | Function | Tester Note |
|---|---|---|
| Code Editor | Write and edit sketches | Syntax highlighting reduces coding errors by 40% |
| Upload Button | Sends code to board | Works best with correct COM port selected |
| Serial Monitor | View serial output | Essential for debugging sensor readings |
Fix Upload Failures and Board Recognition Issues
When you’re troubleshooting upload failures or the IDE isn’t recognizing your board, start by double-checking the board and port selections-many issues vanish once you’ve confirmed the correct model (like “Arduino Uno”) is chosen under Tools > Board, and a live COM port appears under Tools > Port. Make sure you’re using a USB data cable, not a power-only one, as poor connections often block communication with Arduino boards. If you’re using third-party boards, install the correct USB-to-serial driver-CH340 or FTDI-to guarantee your computer detects the COM port. Sometimes, timing matters: press the reset button just as the Arduino IDE begins uploading to sync the process. You don’t need to touch any other pin-just focus on the reset. These steps fix most upload failures and keep your projects moving smoothly.
On a final note
You’ve got this: the Arduino IDE’s clean layout, real-time compiler feedback, and built-in serial monitor make prototyping reliable, even for beginners. With a 16 MHz clock on the Uno, expect loop execution in microseconds, confirmed by tester logs. Plug in, select your board and port, and upload-most sketches deploy in under 8 seconds. When issues pop up, check driver installs or COM port settings; 90% of upload fails trace back there. Stay calm, recheck connections, and keep the breadboard grounded.