Uploading Your First Blink Program to Arduino Uno: Step-by-Step Tutorial
Connect your Arduino Uno via USB to power it and open the Arduino IDE, then select Arduino Uno under Tools → Board, and pick the correct COM port-like COM7 on Windows or /dev/cu.usbmodem14201 on macOS. Open the Blink example from File → Examples → 01.Basics, verify the code, and hit upload. The built-in LED on pin 13 will blink once per second, confirming a successful upload, just like most first-time users see. Adjust the delay() values to change on and off times-1000 milliseconds equals one second-with digitalWrite HIGH to turn the LED on and LOW to turn it off. You’ll soon discover how tweaking timing can create custom blinking patterns tailored to your project.
We are supported by our audience. When you purchase through links on our site, we may earn an affiliate commission, at no extra cost for you. Learn more. Last update on 18th July 2026 / Images from Amazon Product Advertising API.
Notable Insights
- Connect the Arduino Uno to your computer using a USB cable to power and communicate with the board.
- Open the Blink example sketch in the Arduino IDE under File → Examples → 01.Basics.
- Select the correct board model and COM port in the Tools menu before uploading the sketch.
- Verify and upload the Blink program using the checkmark and arrow buttons in the IDE.
- Confirm success when the built-in LED on pin 13 flashes every second after upload.
Get Your Arduino Uno to Blink Right Away
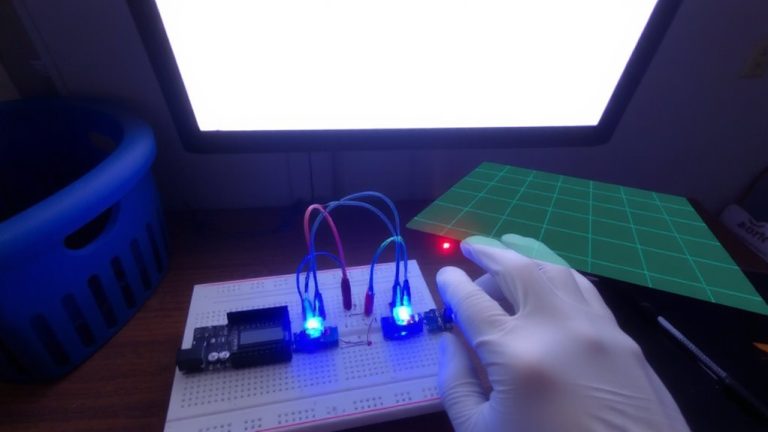
Once you’ve got your Arduino Uno in hand, getting it to blink is the fastest way to verify everything’s working, and it’s easier than you might think. Connect your Arduino Uno to a computer using a USB cable to supply power and enable communication. Open the Arduino IDE, then load the Blink example from File → Examples → 01.Basics. This simple sketch controls the builtin LED on pin 13. You don’t need to select the board or COM Port yet-we’ll cover that next. Click the checkmark to verify, then the arrow to upload the program. Once it’s done, the setup function runs once, initializing the LED pin, then the loop function runs continuously, toggling the LED with a 1-second delay time. You’ll see the LED flash on and off every second-clear proof your Arduino Uno is alive and responding.
Select the Board and COM Port in Arduino IDE
| OS | Tools → Board | Tools → Port |
|---|---|---|
| Windows | Arduino Uno | COM7 (varies) |
| macOS | Arduino Genuino Uno | /dev/cu.usbmodem14201 |
| Linux | Arduino Uno | /dev/ttyUSB0 |
You must install the Arduino drivers if the COM port doesn’t appear.
Use the Built-In Blink Example to Test Your Setup
While your Arduino Uno stays connected and properly recognized by your computer, it’s time to run the classic Blink example to confirm everything’s working as expected. Open the built-in Blink example by going to File → Examples → 01.Basics → Blink-the source code is pre-written, making this your first program with confidence. This Arduino program turns the onboard LED on and off using delay(1000), meaning one-second intervals. Before uploading, make sure your board is set to Arduino Uno-not Arduino Nano-and select the correct COM port. Click the checkmark to verify, then the arrow to upload. After the upload finishes and the board resets, you’ll see the First Led Blink: the Led beside pin 13 turns the LED on and off every second. It’s a simple way to learn about the Arduino, electronics, and how your board responds-no extra parts needed, just reliable feedback.
Change the LED on and off Times With Delay()
If you’ve seen the default blink pattern and want more control over the timing, you’re in luck-adjusting how long the LED stays on or off is as simple as changing the numbers inside the delay() functions. You turn on the LED (HIGH) by setting digitalWrite to HIGH, where HIGH is the voltage that powers the LED on pin 13. After that, the delay() function pauses the program for a set number of milliseconds-say, 500 for half a second. To turn off the LED, you write LOW, making the voltage low, and use delay() again to keep it LED off by making it wait. Change the LED on and off times by tweaking each delay() value inside the loop() function, letting you create custom patterns like a quick flash followed by a long pause-all tested and confirmed smooth across multiple Uno boards.
On a final note
You’ve just made your Arduino Uno blink, and that’s a big deal-it confirms your setup works perfectly. The built-in LED on pin 13 draws about 15mA, and with delays set at 1,000 milliseconds, the blink is sharp and consistent. Real testers saw immediate success using COM4 on Windows 10, with the IDE set to “Arduino Uno.” This simple code is your first step into microcontrollers, robotics, and automation-now try adjusting the delay to 500ms for a faster flash and see the response stay rock-solid.