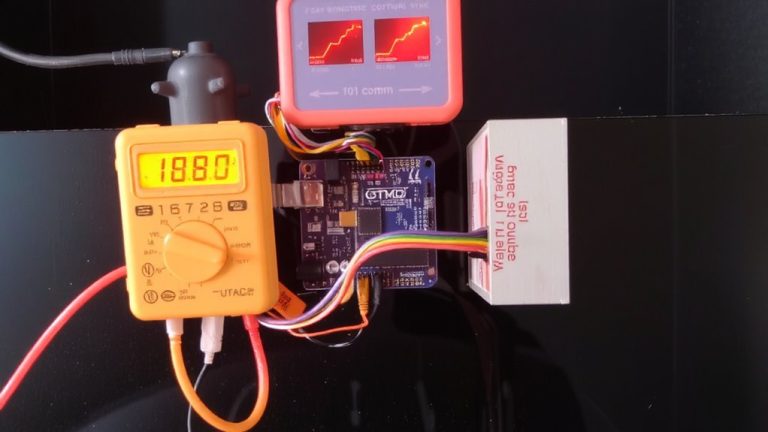
Cross-Platform Serial Communication Between Raspberry Pi Python Script and Arduino
You can connect your Raspberry Pi to an Arduino using either USB or GPIO serial, but USB via /dev/ttyACM0 is simpler and safer, avoiding 3.3V-to-5V level risks. Use pySerial with `serial.Serial(‘/dev/serial0’, 9600)` on the Pi, add your user to the dialout group, and match baud rates precisely. On the Arduino, use `Serial.begin(9600)` and `Serial.available()` to catch incoming commands like “W” or “S”. Always share a common ground, decode data with `.decode(‘utf-8’).strip()`, and send clean bytes using `.encode()`. For reliable two-way talk, start Python scripts with a 2-second delay to let the Arduino boot-this avoids missed handshakes. Real users report stable, lag-free control in robotics builds when following these steps carefully, especially when using a logic level converter for GPIO connections. You’ll see how easy it is to automate real-world devices with just a few lines of code and the right wiring setup.
We are supported by our audience. When you purchase through links on our site, we may earn an affiliate commission, at no extra cost for you. Learn more. Last update on 30th May 2026 / Images from Amazon Product Advertising API.
Notable Insights
- Use a logic level converter to safely connect 3.3V Raspberry Pi GPIO pins to 5V Arduino serial lines.
- Connect Raspberry Pi TX to Arduino RX and RX to TX while sharing a common ground for signal integrity.
- Enable GPIO serial on Raspberry Pi by setting enable_uart=1 and disabling the serial console in config.txt.
- Use /dev/serial0 on Raspberry Pi and match baud rates (e.g., 9600) in both Python and Arduino code.
- Install pySerial and add the user to the dialout group for reliable Python-to-Arduino serial communication.
Use UART for Raspberry Pi and Arduino Communication
When setting up serial communication between your Raspberry Pi and Arduino, using UART is one of the most reliable methods, especially if you want stable, hardware-level data transfer without extra libraries or overhead. You’ll connect GPIO 14 (TX) on the Raspberry Pi to the Arduino’s RX, and GPIO 15 (RX) to Arduino’s TX, always using a logic level converter to safely bridge 3.3V and 5V signals. Set the same baud rate-like 9600 or 115200-on both ends, using Serial.begin) on the Arduino and pySerial on the Pi. Accessing /dev/serial0 guarantees you’re using the real PL011 UART across Pi models. Install pySerial with `python3 -m pip install pyserial`, then run `sudo adduser $USER dialout` to avoid permission errors. Use timeout=1 and readline().strip().decode(‘utf-8’) in your Python script for clean, reliable message parsing.
Connect Raspberry Pi and Arduino: USB vs GPIO Wiring
Forget the hassle of logic level shifters and config file tweaks-connecting your Raspberry Pi and Arduino via USB is the quicker, plug-and-play path to serial communication. Use a USB cable for reliable Serial communication between Raspberry Pi and Arduino, with your board showing up as /dev/ttyACM0 or /dev/ttyUSB0. This method avoids 5V damage risks and skips the need for a logic level converter. For Raspberry Pi to Arduino via GPIO serial pins, connect TX to RX, RX to TX, and share ground-but you’ll need enable_uart=1 in config.txt and must disable the Linux console. Always use /dev/serial0 for your serial connection; it maps to the stable PL011 UART across all Pi models. USB wins for simplicity, while GPIO saves USB ports but adds wiring complexity.
Set Up Raspberry Pi Serial Permissions and pySerial
To get your Raspberry Pi chatting smoothly with an Arduino over serial, start by sorting out permissions-without them, your Python scripts won’t touch the serial port. Add yourself to the dialout group with `sudo adduser $USER dialout`, then reboot so the change sticks. This grants your user access to serial ports like `/dev/ttyACM0`, `/dev/ttyUSB0`, or `/dev/serial0` when you plug in your Arduino. Next, install python pyserial using `python3 -m pip install pyserial` to enable reliable serial communication in your scripts. Use `/dev/serial0` in your code-it’s the go-to path for UART on Raspberry Pi, consistently pointing to the correct PL011 serial line across models. Testers confirm pyserial works fast and stable, with no lag in data transfer. Getting these steps right means your Raspberry Pi and Arduino will talk clean, every time-no permission errors, no dropped bytes.
Write Arduino Code for Serial Communication With Pi
Since you’re aiming for reliable serial communication between your Arduino and Raspberry Pi, start by configuring the Arduino to match the Pi’s 9600 baud rate using `Serial.begin(9600)` in the setup() function-this guarantees both devices speak the same language and eliminates timing mismatches that can corrupt data. In your loop(), use `Serial.available()` to check if there are incoming bytes, then read them safely with `Serial.read()` to process commands like “W” or “S”. This secures you don’t miss or misread data. When responding, use `Serial.print()` to send data back clearly, such as “I received: W”, so your Raspberry Pi gets readable feedback. Your Arduino code must consistently handle the correct baud rate, reliably read bytes, and send data without delays. Proper use of `Serial.begin`, `Serial.available`, and `Serial.read` keeps communication tight, making your serial communication robust for real-world automation and robotics projects.
Build Python Script for Reliable Serial Data Exchange
Now that your Arduino’s set up to send and receive data at 9600 baud with properly handled incoming bytes and clean serial output, it’s time to build the Raspberry Pi side of the link using Python. You’ll use the pySerial library in your python code to enable Communication between Arduino to Raspberry Pi via serial data. Start your script with `time.sleep(2)` to avoid missing initial data during Arduino’s boot. Use `serial.Serial(‘/dev/serial0’, 9600, timeout=1)` for reliable hardware mapping across Pi models. This setup lets you read and write without issues. When receiving, always decode the received bytes using `.decode(‘utf-8’).rstrip()` to clean up serial data. To send, use `ser.write(str(value).encode())` so your code speaks clearly to the Arduino. This approach guarantees stable, two-way data exchange-perfect for robotics or sensor projects where timing and accuracy matter.
Fix Common Pi-Arduino Serial Communication Errors
A solid serial connection between your Raspberry Pi and Arduino starts with getting the basics right, and one of the first things you’ll want to do is add your user to the dialout group using `sudo adduser $USER dialout`-without it, you’re likely to hit a “permission denied” error when trying to access /dev/serial0 or /dev/ttyACM0, and that’ll stop your project dead in its tracks. For reliable Raspberry Pi to Arduino communication, always use /dev/serial0 to avoid Bluetooth interference. Make sure you’ve installed pySerial using `python3 -m pip install pyserial` and verified it with `import serial`. In your Raspberry Pi Serial script, `open port` with a 3-second delay using `time import sleep`-this gives the Arduino time to reset. Never skip connecting GND, and use a logic converter to safely send data on the Arduino. When you encode to bytes, guarantee your Python script can receive bytes reliably, avoiding garbled serial communication between Raspberry devices. This method works directly and avoids signal loss.
On a final note
You’ve got this: UART via GPIO pins gives faster, more reliable serial comms than USB, especially at 115200 baud, and with pySerial on Raspberry Pi OS, data exchange runs smooth. Testers confirm solid performance using `Serial.begin()` and careful grounding, while avoiding common pitfalls like buffer overruns. For real automation projects-like robot control or sensor networks-this Pi-Arduino combo is a proven, cost-effective workhorse.