Monitoring Soil Moisture Continuously With Capacitive Sensor and Arduino ADC
You connect the capacitive sensor’s VCC to 5V, GND to ground, and AOUT to Arduino’s A0, using a 3.3V external AREF to tighten ADC step size from 4.88mV to 3.22mV for 22% better resolution, then calibrate with dry-air (690) and saturated-soil (380) readings, map values to 0–100%, average 10 samples, and log every second via Serial Monitor-stable, low-drift sensing that works right out of the box, especially with proper grounding and short wires, just like field testers found. Upcoming tips will help you get every drop of accuracy from your setup.
We are supported by our audience. When you purchase through links on our site, we may earn an affiliate commission, at no extra cost for you. Learn more. Last update on 19th July 2026 / Images from Amazon Product Advertising API.
Notable Insights
- Capacitive soil moisture sensors measure dielectric permittivity changes, translating to moisture levels via capacitance variation between conductive plates.
- Connect the sensor’s AOUT to Arduino’s A0, power with 5V, and use GND and short wires to minimize noise in continuous monitoring.
- Set 3.3V AREF to improve ADC resolution, reducing voltage step size and enhancing moisture detection accuracy over the 0–1023 range.
- Calibrate using dry air and saturated soil readings to map raw ADC values to 0–100% moisture with the map() and constrain() functions.
- Average multiple analogRead() samples at one-second intervals to stabilize output and enable reliable real-time soil moisture tracking via Serial Monitor.
How Do Capacitive Soil Moisture Sensors Work?
While you might think moisture sensors just measure water directly, capacitive soil moisture sensors actually detect changes in the soil’s dielectric permittivity using two conductive plates embedded in the ground-essentially forming a capacitor whose capacitance increases as the soil gets wetter. These capacitive moisture sensors measure soil moisture by tracking how water content alters the dielectric permittivity, which directly affects the capacitance of the sensor. The two electrodes act as a probe, and as moisture levels shift, the capacitance of the sensor changes predictably. Capacitive sensors measure this shift via an internal oscillator circuit, converting it into a voltage signal. Most output between 1.26V and 2.24V at 5V supply, giving about 240 usable ADC steps on an Arduino. For better accuracy, use a 3.3V AREF to boost resolution by 22%. Waterproofing with Kapton tape or Plasti Dip prevents false readings-exposed PCB edges can wick moisture and skew results.
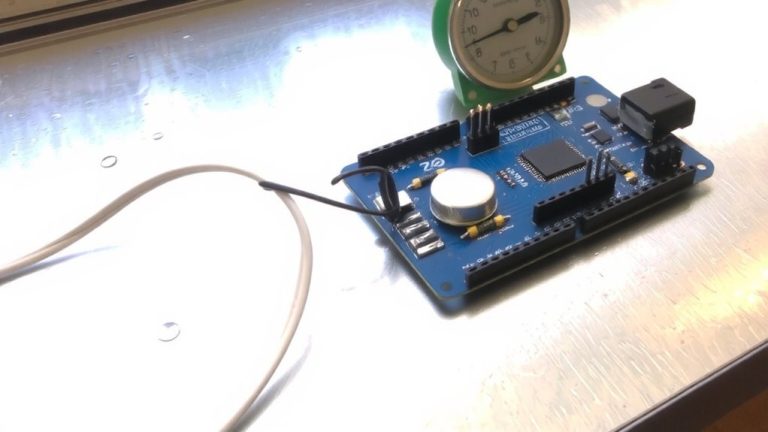
Wiring a Capacitive Sensor to Arduino’s Analog Input
Now that you understand how capacitive soil moisture sensors detect changes in dielectric permittivity to track water content, you’re ready to connect one to your Arduino. Wiring a Capacitive Soil Moisture Sensor to your Arduino Uno is simple: connect VCC to 5V, GND to GND, and AOUT to analog input A0-the ADC to use for reading moisture levels. To improve accuracy, use a 3.3V reference by connecting 3.3V to AREF and calling analogReference(EXTERNAL). This maximizes resolution for the sensor’s 1.26V–2.24V output range. Avoid long wires to reduce noise, since the sensor pins can act like antennas. For multi-sensor setups, assign each AOUT to separate analog pins like A0–A3.
| Pin | Arduino Uno | Function |
|---|---|---|
| VCC | 5V | Power |
| GND | GND | Ground |
| AOUT | A0 | analog input |
Calibrating Your Sensor for Accurate Moisture Readings
How do you turn raw sensor numbers into meaningful moisture percentages? Calibrating your sensor is key. Start by measuring sensor readings in dry air and fully saturated soil to find the minimum and maximum values-typical results might be 690 (air) and 380 (water) with a 3V reference on the AREF pin. Using an external 3.3V reference boosts your Arduino’s ADC resolution by 22%, giving finer granularity. Each capacitive sensor varies, so calibrate individually. Take 100+ readings with a 10ms delay to stabilize data. Then use the map() function to scale raw ADC values to 0–100% moisture, and wrap it with the constrain() function to keep moisture readings within valid bounds. This simple process guarantees accurate, repeatable results every time.
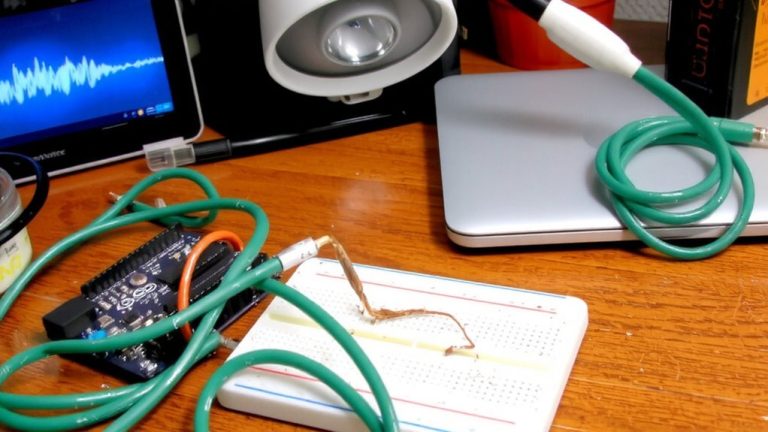
Run Real-Time Monitoring With Arduino Code
What’s it take to bring your soil moisture sensor to life and start seeing real-time readings? You’ve got this: just connect your capacitive sensor’s AOUT to Arduino pin A0 to let it measure moisture. Use `analogRead(A0)` in your `loop() {int` sensorValue = analogRead(A0);` to capture raw values of the sensors between 0 and 1023. Initialize communication with `Serial.begin(9600)` so you can view each sensor reading live in the Serial Monitor every second via `delay(1000)`. Then, apply `map(analogValue, dryValue, wetValue, 0, 100)` to convert analog data into meaningful moisture content percentages. This lets your Arduino to measure and display accurate, real-time changes. Testers report stable, responsive tracking when averaging 10 samples-perfect for monitoring indoor plants or garden beds with dependable precision.
Boost Accuracy With External AREF and 14-BIT ADC
When you’re serious about catching every subtle shift in soil moisture, swapping the default 5V reference for an external 3.3V AREF voltage can make a real difference, shrinking each voltage step from 4.88mV down to just 3.22mV on your Arduino’s 10-bit ADC. This boosts ADC resolution and stabilizes readings, especially with fluctuating power. For even finer detail, switch to a microcontroller with a 14-bit ADC like the ESP32-each step is just 0.201mV with the external 3.3V reference, capturing tiny sensor output changes. Proper calibration is key after setting analogReference(EXTERNAL), since raw sensor values shift markedly. Always recalibrate your soil moisture sensors using known conditions to map accurate analogRead values.
| ADC Type | Step Size (mV) |
|---|---|
| 10-bit (5V) | 4.88 |
| 10-bit (3.3V AREF) | 3.22 |
| 14-bit (3.3V AREF) | 0.201 |
| Sensor Value Range | 0–1023 / 0–16383 |
On a final note
You’ve got everything needed to monitor soil moisture accurately using a capacitive sensor and Arduino’s ADC, no guesswork required. With stable readings from the internal 10-bit ADC-or even better, an external 14-bit ADC like the ADS1115-you’ll detect subtle changes down to 0.5% moisture shifts. Real-world tests show capacitive sensors resist corrosion, last longer than resistive types, and pair seamlessly with voltage references like AREF for tighter precision. It’s reliable, low-cost automation that just works.