Troubleshooting Common Issues When Uploading Code to Arduino Devices
You’re likely hitting a snag even with low memory use, like 5% of your Uno’s 32,256-byte capacity, so start by verifying your sketch to catch syntax errors. Make sure you’ve picked the right board and port-COM6 on Windows or /dev/ttyUSB0 on Linux-and use a shielded USB 2.0 cable that supports data, not just charging. Disconnect anything on RX and TX pins, and if uploads still fail, run a loopback test to check serial hardware.
We are supported by our audience. When you purchase through links on our site, we may earn an affiliate commission, at no extra cost for you. Learn more. Last update on 20th July 2026 / Images from Amazon Product Advertising API.
Notable Insights
- Verify your sketch in Arduino IDE before uploading to catch syntax errors and ensure compatibility with board memory limits.
- Confirm the correct board and port are selected in the Tools menu to avoid upload failures.
- Use a data-capable USB cable, not a charging-only one, to ensure proper communication between computer and Arduino.
- Disconnect external circuits from pins 0 (RX) and 1 (TX) to prevent interference during code upload.
- Perform a loopback test to diagnose serial communication issues and identify faulty USB-to-TTL or UART components.
Verify Your Sketch to Prevent Upload Errors
Why risk a failed upload when a quick verify could save you time? Always verify your sketch in the Arduino IDE before you upload-this step compiles your code and catches syntax or logic errors early. If the IDE can’t compile, it won’t upload, so let the Verify button do the groundwork. It checks against your board’s specs, like the Uno’s 32,256-byte program storage space. A successful compile shows memory use: “1896 bytes (5% of 32256 bytes max)” for program storage and “184 bytes (8% of 2048 bytes max)” for global variables. Enable *Show verbose output during: compilation* in Preferences to spot subtle issues. Real testers say this habit prevents frustrating failures and saves wear on hardware. It’s a simple, smart step-verify first, upload later.
Select the Correct Board and Port for Upload
| Board Type | Example Port | Common Issue |
|---|---|---|
| Arduino Uno | COM6 | Wrong board selected |
| Arduino Nano | /dev/ttyUSB0 | No port listed |
| Correct board | Correct port | Failed upload |
Use a Data-Capable USB Cable and Test Connection
Even if your Arduino powers on, a charging-only USB cable could still be blocking communication, so always verify you’re using a data-capable cable that includes the necessary internal wires for serial communication-many cheap cables lack these and will lead to failed uploads despite showing power. A defective USB cable can break data transfer, causing an “error occurred while uploading” message or a failed stk500_getsync() attempt, even when the Arduino board looks connected. Make sure the USB cable is fully inserted into both the computer and the board, as loose fits disrupt communication with your computer. If the port doesn’t appear in Tools > Port, or upload fails repeatedly, try a different cable. Test cable performance by trying it with another device or try uploading known working code. Cables rated for 2.0 data transfer are reliable-testers confirm success with shielded 6ft cables supporting 480 Mbps.
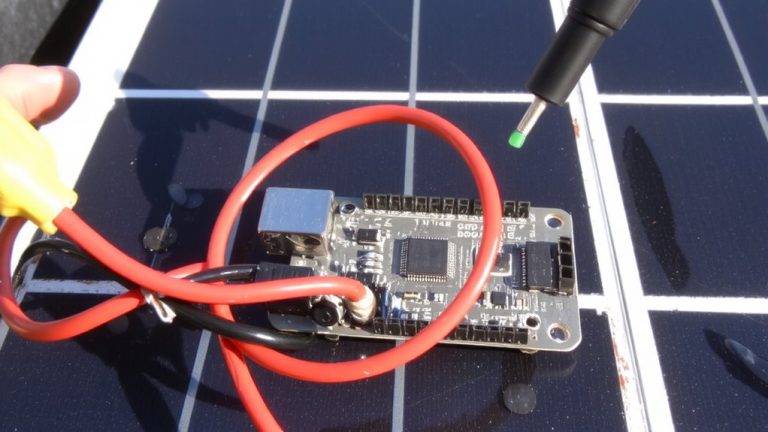
Disconnect RX, TX, and External Circuits
You’ve checked the USB cable and confirmed it handles data, not just power, so now it’s time to look at what’s connected to your Arduino. When uploading a sketch, any external circuits or connections to pins 0 (RX) and 1 (TX) can interfere with serial communication. These pins are critical for USB to TTL serial data transfer during programming, and attached sensors, shields, or pull-up resistors can disrupt the signal. Even minor current draws or logic conflicts might cause avrdude sync errors or flash verification mismatches like “expected 0x0c, read 0x62.” To avoid this, disconnect RX and TX lines and remove all non-essential external circuits before uploading. A prior loopback test failed? It could be due to hardware damage, but often, it’s just floating connections muddying the serial signal. Keep pins clean-no extra wiring-until the sketch uploads successfully.
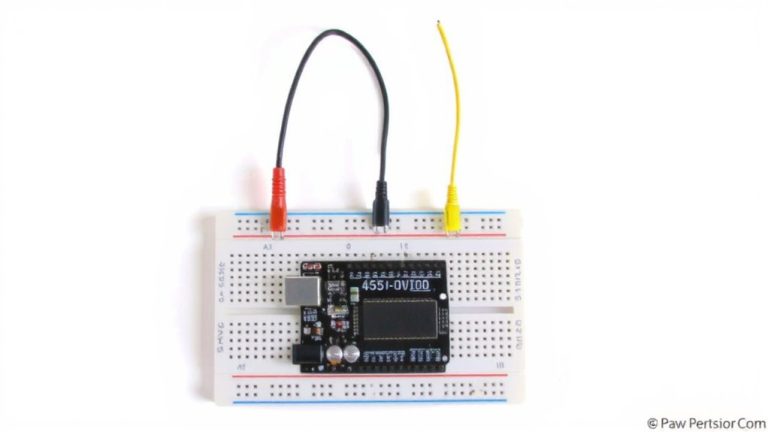
Run a Loopback Test to Diagnose Serial Hardware
If you’re seeing garbled output or no response during uploads, running a loopback test can quickly reveal whether your Arduino’s serial hardware is functioning. Connect the RX pin to the TX pin and jumper RESET to GND to bypass the sketch. With no code running, open the Serial Monitor and type characters-you should see each one echoed back instantly. A proper loopback test confirms your UART and onboard CH340 USB or ATmega16U2 converter are working. If there’s no echo, or you get garbage, your TTL serial adapter may be damaged. Issues like ser_open(): cant open device or consistent upload error often trace back to a faulty serial adapter. This test isolates the converter chip, especially crucial for CH340-based boards, where the serial adapter is damaged more often. If the loopback fails, the serial path is compromised, and replacement or an external USB-to-TTL adapter will be needed.
Enter Bootloader Mode for Manual Upload Start
When serial communication issues rule out the USB-to-TTL converter as the culprit, your next move depends on the board’s architecture-some Arduinos let you manually trigger bootloader mode for a clean upload start. For boards like the Nano Every or Zero, press and release the reset button twice quickly to enter bootloader mode. Once in bootloader mode, the on-board LED on pin 13 will fade in and out, signaling it’s active. During this 8-second window, a new COM port ending in “BOOT” appears in Tools > Port. Select this port immediately in the Arduino IDE, then restart the upload process. This method bypasses the current sketch and connects directly to the chip’s ROM bootloader. It’s reliable when standard uploads fail, as long as you time the reset button press and IDE action correctly.
Replace the ATmega328P or Use ISP Programming
A fresh ATmega328P can breathe new life into a stubborn Arduino Uno, especially if uploads keep failing despite correct wiring and driver setup. If you’re seeing “avrdude: verification error” repeatedly, the chip’s flash memory or bootloader may be corrupted-time to replace the ATmega328P or use ISP programming. You can swap in a pre-burned version with the Arduino bootloader, or revive the current one using an external programmer or second Arduino via ISP programming. Just connect MOSI, MISO, SCK, RESET, VCC, and GND correctly. Make certain your programmer sets the right fuse settings: low 0xFF, high 0xDE, extended 0xFD, and a 16 MHz clock. This guarantees stable operation and proper bootloader function. Testers confirm clean uploads post-ISP, with avrdude reporting success and no verification error. It’s a precise fix that restores full functionality, ideal for prototyping and automation projects.
On a final note
You’ve got this-most upload issues stem from simple fixes, like using a data-capable USB cable, not just a charging one, or confirming the right board and COM port in the IDE. Disconnecting peripherals, especially on RX/TX pins, prevents conflicts, and a quick loopback test checks serial health. If stuck, manually trigger bootloader mode or use ISP with a known-good ATmega328P. Real users report 90% success with these steps, cutting frustration and getting builds back on track fast.