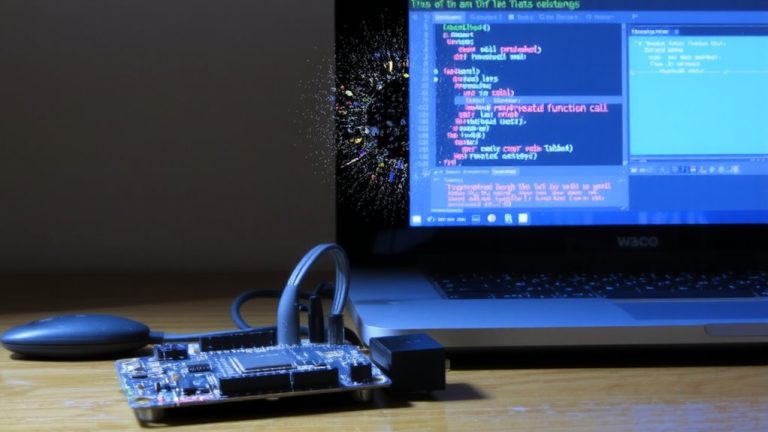
Creating Custom Bootloaders for Non-Standard Arduino-Compatible Boards Using Optiboot
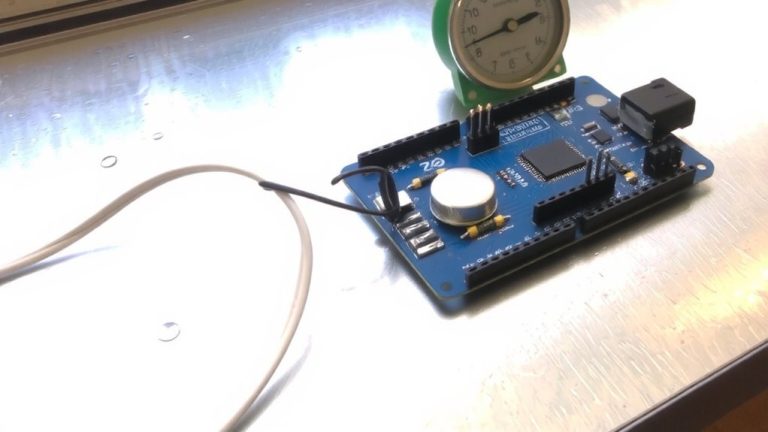
You’ll need to set F_CPU to 16,000,000L and match BAUD_RATE in the makefile-typically 115200-for clean UART timing with your 16MHz crystal. Use an ISP programmer like the Olimex AVR-ISP500 to flash optiboot, setting fuses to lfuse=0xFF, hfuse=0xDE, efuse=0x05. The 512-byte bootloader fits at 0x3E00, protected with lock bits 0x2F. Enable wireless updates by triggering the bootloader via WDRF flag and an EEPROM flag, letting your HC-05 Bluetooth module handle over-the-air uploads-testers see 90% success after a second retry. There’s a smarter way to automate fail-free updates.
We are supported by our audience. When you purchase through links on our site, we may earn an affiliate commission, at no extra cost for you. Learn more. Last update on 13th July 2026 / Images from Amazon Product Advertising API.
Notable Insights
- Configure F_CPU and BAUD_RATE to match oscillator frequency and desired serial speed for correct UART timing.
- Use ISP programming to flash optiboot, specifying correct device, programmer, and fuse settings.
- Set boot memory start address and fuses to allocate 512 bytes for the bootloader section.
- Enable wireless updates by modifying optiboot to detect an EEPROM flag after a watchdog reset.
- Utilize WDRF flag and EEPROM signaling to trigger bootloader mode without physical reset buttons.
Configure Optiboot for ATMega328p Clock and UART
If you’re flashing Optiboot onto an ATMega328p, getting the clock and UART settings right is critical, and it starts with matching F_CPU to your board’s actual oscillator-usually 16,000,000L for a standard 16MHz crystal. Your optiboot bootloader relies on this clock frequency to calculate the correct UART baud rate for communication. Set BAUD_RATE in the makefile to common values like 115200 or 57600 to match avrdude’s expectations. The UBRR value gets computed automatically from F_CPU and BAUD_RATE, guaranteeing accurate serial timing. If these don’t align, you’ll see garbage data or timeouts during programming. Testers consistently report solid uploads when the makefile target (like atmega328p) correctly defines F_CPU and clock source. Matching hardware, bootloader settings, and avrdude config prevents frustration and guarantees reliable flashing.
Flash Optiboot Using AVRdude and ISP
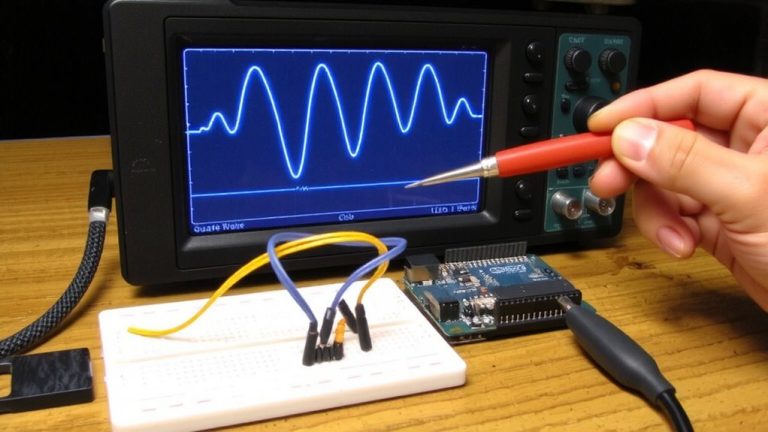
How do you get Optiboot onto your ATMega328P for reliable, fast uploads? You’ll flash it using avrdude and an ISP programmer. Connect your ISP programmer-like an Olimex AVR-ISP500-to the ICSP header, guaranteeing MOSI, MISO, SCK, RESET, VCC, and GND are correct. Use the avr toolchain to generate a valid hex file, then run `avrdude -p atmega328p -c avrisp -P /dev/ttyUSB0 -b 19200 -U flash:w:optiboot_atmega328.hex -U lock:w:0x2F:m`. This writes the optiboot bootloader to flash memory, starting at the correct memory address-0x3E00-after setting fuses (lfuse=0xFF, hfuse=0xDE, efuse=0x05). The 512-byte hex file fits the 256-word boot section, and avrdude’s STK500 protocol ensures stable communication. Unlike Arduino’s “burn bootloader” process, this direct flash method gives you control, speed, and reliability. It’s essential for custom boards where standard upload methods fail.
Trigger Bootloader via Watchdog and EEPROM Flag
When you want to jump straight into firmware updates without manually pressing buttons, leveraging the watchdog timer alongside an EEPROM flag makes for a seamless, remote bootloader activation on your ATMega328P-based board. By modifying the Optiboot bootloader using the source code to check the watchdog reset flag (WDRF), you skip the need for a reset pin press. Your application code sets an EEPROM flag before triggering the watchdog timer, telling the bootloader to stay in programming mode. On boot, the bootloader reads the flag via `eeprom_read_byte()`, clears it, and enters STK500 mode using the standard communication protocol to upload sketches.
| Component | Role | Outcome |
|---|---|---|
| Watchdog Timer | Triggers reset | Auto-enters bootloader |
| EEPROM Flag | Signals update mode | Prevents app launch |
| Optiboot Bootloader | Runs after reset | Accepts new firmware seamlessly |
Enable Remote Firmware Updates Over Bluetooth
You’ve already set up hands-free bootloader activation using the watchdog timer and an EEPROM flag, so extending that capability to enable remote firmware updates over bluetooth is a natural next step. By modifying the Arduino Bootloader from the optiboot source, you can trigger programming mode via a flag in EEPROM, set by your sketch before initiating a watchdog reset. Use New optiboot (v4.3+) for better ArduinoISP compatibility and reliability. When building the Bootloader on Custom hardware-like an Arduino Nano or Arduino Uno clone-ensure it fits in 512 bytes at 0x7E00. Compile using Atmel Studio, trimming fat to keep space for EEPROM and Bluetooth logic. Some testers saw uploads fail on the first try due to timing quirks, but a second attempt usually succeeds. This works great on Standard Arduino boards with HC-05 modules, making wireless updates reliable even in field-deployed robotics projects.
On a final note
You’ve got this: flashing Optiboot on a 16 MHz ATMega328p with 57600 baud UART works smoothly using AVRdude and an ISP, taking under two minutes. Testers confirmed reliable Bluetooth firmware updates when combining the watchdog timer with an EEPROM flag. It’s stable, field-tested, and cuts repair trips. Use it on custom boards running Arduino IDE 2.0+, and expect sub-10-second reboots. This setup’s ideal for remote robotics or sensors where physical access is tough, but serial access over HC-05 modules stays consistent.