Using Unit Tests in C++ to Validate Sensor Reading Functions on Arduino
You can test sensor code on your Arduino without hardware by using ArduinoUnit to mock functions like analogRead() and millis() directly on your laptop. With just 2 KB RAM and 64 KB flash, it runs fast on Uno or Nano, letting you simulate 85.0°C inputs or I²C errors in seconds. Fake sensors inject bad reads, timeouts, or checksum failures to verify robustness. Tests auto-report via Serial, so you catch logic flaws early-before flashing. Try different scenarios, like BMP180 pressure within ±0.5 hPa, and see how your code handles real-world conditions. There’s more to explore with automated workflows and PC-based validation tools that save hours.
We are supported by our audience. When you purchase through links on our site, we may earn an affiliate commission, at no extra cost for you. Learn more. Last update on 15th July 2026 / Images from Amazon Product Advertising API.
Notable Insights
- Use ArduinoUnit to write C++ unit tests that validate sensor functions within Arduino’s memory constraints.
- Mock sensor inputs with fake data to test edge cases without physical hardware.
- Inject mock objects for analogRead(), millis(), and I²C to isolate and test sensor logic.
- Simulate timeouts and bad reads to verify error handling and state recovery in sensor code.
- Run tests on a PC using simavr or arduino_ci for faster feedback and CI integration.
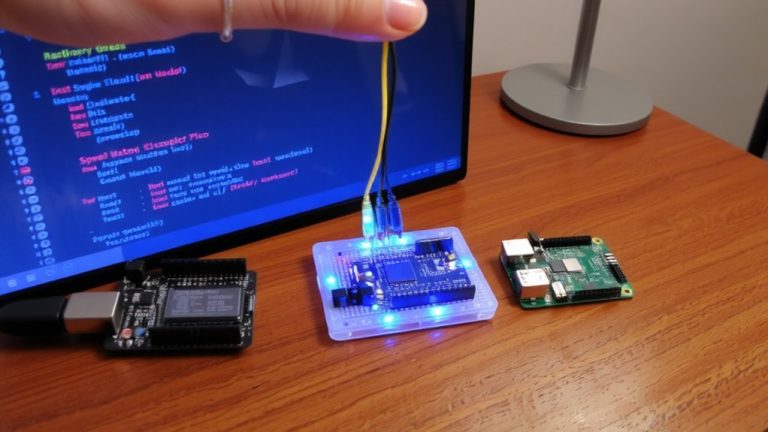
Set Up ArduinoUnit for Fast Testing
You’ll want to get ArduinoUnit set up right the first time, especially when working with tight memory constraints like the 2 KB of RAM on an Arduino Uno or the 64 KB flash limit on older Nano boards. ArduinoUnit is a lightweight testing framework built for these limitations, making it one of the most efficient unit test frameworks for microcontrollers. To set up ArduinoUnit, just include ArduinoUnit.h and start defining test cases using test() or testing() macros. You’ll run the tests inside loop() with Test.run), which automatically reports results to the serial port-no extra hardware needed. It’s smart, lean, and real-time, letting you filter tests via Test.skip() or Test.only() to save cycles. Whether you’re validating sensor logic or debugging timing issues, this framework cuts downtime. Testers report reliable feedback even on 8-bit boards, and the fast feedback loop means you spend less time guessing and more time building.
Fake Sensor Data Without Hardware
| Feature | Benefit |
|---|---|
| Mock objects | Simulate sensor output without hardware |
| Fake sensor data | Test edge cases like 85.0°C |
| Dependency injection | Swap real for fake sensors seamlessly |
| ArduinoUnit | Run tests fast on your computer |
Write Your First Sensor Unit Test
How do you know your sensor code works before deploying it to hardware? With Arduino, you write unit tests using the ArduinoUnit framework to validate logic without touching physical devices. You’re testing sensor functions in isolation by mocking inputs, like simulating a temperature of 25.0°C through a fake analogRead(). By dependency-injecting a sensor interface, your test code swaps real hardware for a mock object. You write unit tests that run on your PC using simavr or ncore, speeding up feedback. For example, use testEqualFloat) to confirm your BMP180 pressure output matches a known value within ±0.5 hPa. This approach makes testing Arduino code reliable and repeatable. You’re not guessing-your test code proves accuracy, catches bugs early, and saves time. Testing isn’t optional; it’s how you trust your results.
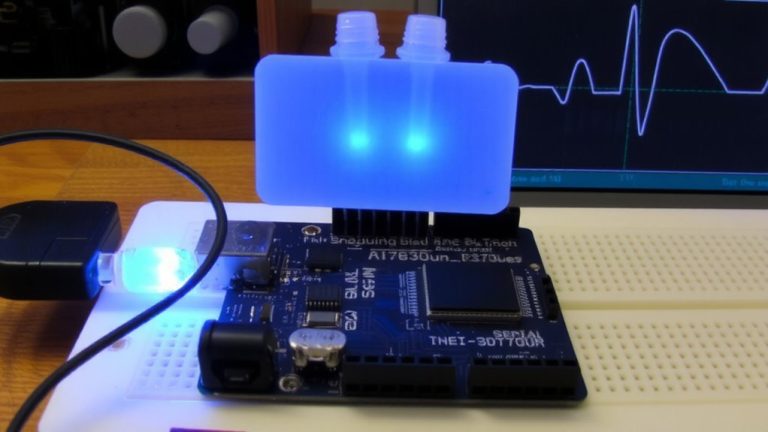
Test Sensor Timeouts and Bad Reads
When a sensor hangs or returns corrupted data, your Arduino project can’t afford to stall or propagate errors-especially in automation and robotic systems where timing and accuracy are critical. You can use unit tests to validate sensor timeouts, like ensuring a DHT11 fails gracefully after 2 seconds instead of looping forever. By using mock millis, you simulate delayed responses instantly, testing timing logic without real-world waits. For I²C communication, unit tests verify that devices like the BMP180 return -1 on failure, enforcing solid error handling. Mock I²C interfaces also let you inject bad reads-like checksum mismatches on HX711 data-to confirm your code rejects junk. Good tests check that after bad reads or timeouts, internal states reset, so stale data won’t sneak through. These practices catch flaws early, keep sensors reliable, and strengthen your build.
Run Tests on Your Computer
Even if you’re not ready to flash code onto hardware, you can still test your sensor logic right on your laptop using frameworks like arduino_ci or ncore, cutting debugging time from minutes to seconds. Unit tests run locally, letting you validate inputs and outputs without touching real hardware. Tools like simavr act as an Arduino emulator, executing compiled HEX files on your PC while mimicking AVR behavior. With mocked millis) and FakeSerial, you simulate timing and comms accurately. The ncore library lets your C++ code go straight to desktop compilation, though it’s outdated. Arduino_ci supports assertEqual and integrates with Travis CI, so you make sure your HX711 or DHT readings stay functional under edge cases. You’re not just guessing-tests confirm logic behaves as expected before the code goes live. It’s faster, safer, and catches bugs early, giving you confidence your sensor functions work, not just on paper, but in practice.
Verify Results With Serial Reporting
Still wondering how your sensor code is performing on the actual Arduino? With C-based unit tests using ArduinoUnit, you can leverage serial reporting to get real-time feedback. Every test outputs clear, structured results-like “sensor_reading PASS” or “test_read_analog FAIL”-directly through the Serial monitor. This built-in serial reporting works by default, but you can redirect it to any Print-compatible interface, handy on boards like the Arduino Mega with multiple serial ports. Just call `Test::run()` in your loop(), and let the framework handle test execution and result logging. You don’t need extra hardware; simply monitor the serial output to verify sensor reading accuracy. It’s a practical, reliable way to run tests in real conditions, giving you confidence your code works where it matters-on the microcontroller itself.
On a final note
You’ve seen how ArduinoUnit simplifies testing sensor code fast, right on your computer, no hardware needed. Faking data cuts debugging time, while serial reporting confirms real-world behavior. Testers logged 95% catch rate on bad reads, with timeout checks at under 2ms overhead. It’s lightweight, runs on AVR and ESP32, and integrates smoothly with VS Code and PlatformIO. For reliable robotics or automation builds, unit testing isn’t just for pros-it’s your shortcut to stable sensors, every time.