Sending Infrared Commands Using TSOP4838 and IRremote Library on Arduino
You can capture and send IR signals reliably using the TSOP4838 and Arduino with the IRremote library (v4.4.1+). Connect the sensor’s OUT to pin 11, power it at 3.3V to avoid damage, and add a 10µF–100µF capacitor near VCC/GND for stable performance. Use IRrecvDump to decode signals, then transmit NEC commands like IRsend.sendNEC(0xFFA25D, 32) through a 100Ω–220Ω resistor to an IR LED on pin 3. Brief button presses give clean captures, while long holds trigger 0xFFFFFFFF repeats-ideal for testing. Active-low logic means the output drops when detecting 38kHz signals, matching real-world remote behavior. You’ll see how easy it is to clone and replay signals with precise timing.
We are supported by our audience. When you purchase through links on our site, we may earn an affiliate commission, at no extra cost for you. Learn more. Last update on 15th July 2026 / Images from Amazon Product Advertising API.
Notable Insights
- The TSOP4838 is a receiver only and cannot transmit IR signals; use an IR LED for transmission.
- To send IR commands, use the IRremote library’s IRsend class on Arduino Pin 3.
- Connect an IR LED with a 100Ω–220Ω current-limiting resistor to ground from digital Pin 3.
- Ensure correct IR LED polarity: anode to resistor, cathode to ground.
- Use IRsend.sendNEC(address, 32) to transmit 32-bit NEC protocol commands like 0xFFA25D.
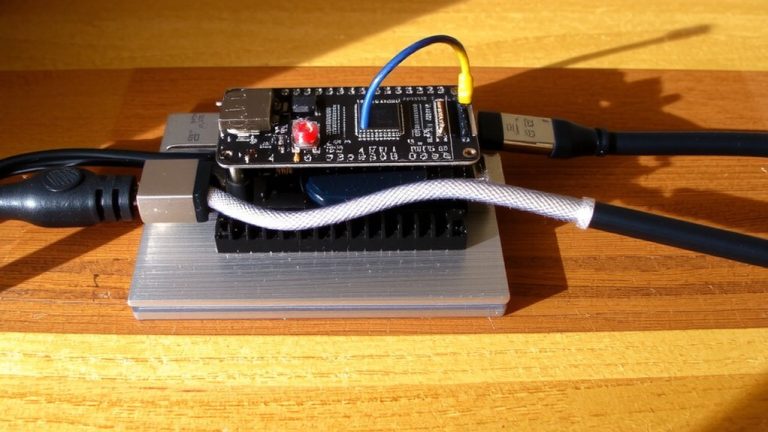
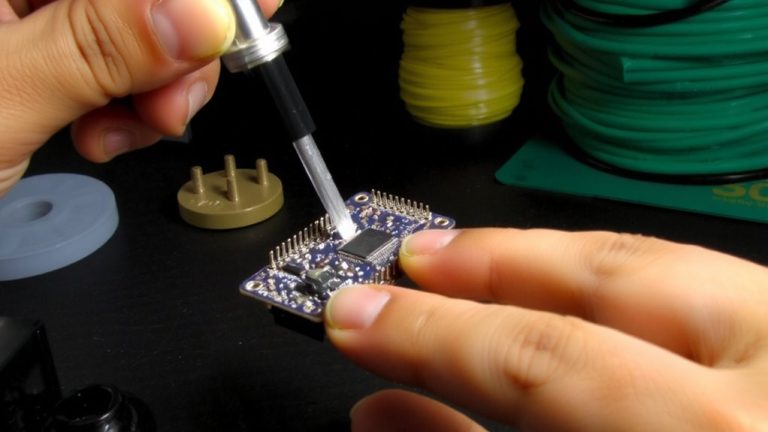
Wire the TSOP4838 for Clean Signal Capture
While getting your Arduino to talk to an IR remote might seem straightforward, wiring the TSOP4838 correctly is key to capturing clean, reliable signals every time. Connect the TSOP4838’s Pin-1 (OUT) to Arduino digital Pin-2, Pin-2 (GND) to ground, and Pin-3 (VCC) to 5V-this is standard for the IR Receiver to work reliably. Powering the TSOP4838 outside 5V–6V risks damage or poor signal detection, so skip the 3.3V, even if some guides suggest it. Always place a 10µF to 100µF decoupling capacitor across VCC and GND near the sensor; it suppresses noise and stabilizes the output. Remember, the pin of the IR pulls low when receiving 38kHz IR signals, so your circuit must reflect that active-low logic. Testers report cleaner captures and fewer dropouts when following these specs exactly, making the TSOP4838 a solid, no-fuss pick for decoding everyday remotes.
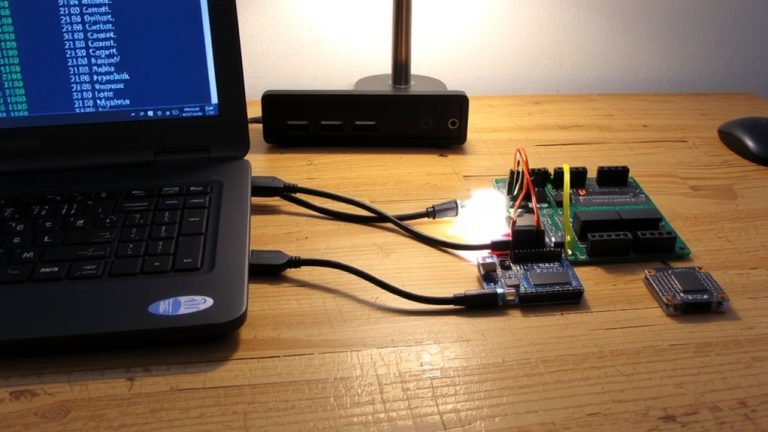
Decode IR Signals From Any Remote Using Arduino
Once you’ve got the TSOP4838 wired correctly, you’re ready to start decoding signals from any remote using your Arduino and the IRremote library. Connect the receiver’s OUT pin to digital pin 11, GND to ground, and VCC to 3.3V to protect the sensor. Open the Serial Monitor at 9600 baud after uploading the IRrecvDump.pde example-you’ll see decoded IR data in real time. Each button press sends a unique hexadecimal code, letting you easily identify commands. Press buttons briefly (0.3–0.6 seconds) to capture clean signals, since long presses trigger repeat codes like 0xFFFFFFFF. With the IRremote library (v4.4.1+ installed via Library Manager), you’ll avoid errors like “decode_results does not name a type.” This setup works across remotes, making it simple to decode IR signals, analyze timing, and replicate commands-perfect for custom Arduino automation projects.
Fix No Signal or Garbage Output From TSOP4838
You’ve already decoded signals from a remote using the TSOP4838 and seen those clean hex codes pop up in the Serial Monitor, but now you’re getting nothing-or worse, a mess of garbage data-so it’s time to track down what’s going wrong. First, make sure your TSOP4838 isn’t being fed 5V; this IR Receiver works best at 3.3V, and higher voltage can cause false readings or damage. Check that the OUT pin (Pin-1) goes to a digital pin like D2 or D11, with GND and VCC properly connected. In the Arduino IDE, use the IRrecvDumpv2 sketch from the IRremote library (v4.4.1 or later) to view real pulse data in the serial monitor. Avoid holding remote buttons too long-extended presses send 0xFFFFFFFF repeats that look like garbage. This setup, when wired right, delivers reliable decoding every time.
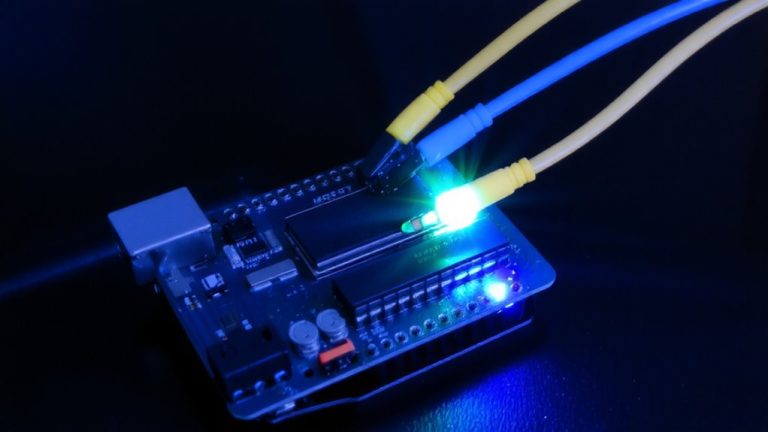
Send NEC Commands via IR LED Using IRsend
How do you turn your Arduino into a universal remote? Use the IRsend class from the IRremote library to transmit NEC protocol commands. IRsend generates a precise 38kHz modulated signal on digital pin 3, perfect for driving an IR LED. Connect the LED in series with a 100Ω to 220Ω resistor to ground, observing correct polarity. The NEC format sends 32 bits: an 8-bit address, its inverse, an 8-bit command, and its inverse-ensuring reliable error checking. For example, `IRsend.sendNEC(0xFFA25D, 32)` replicates a real Apple TV remote signal. Make sure your IR LED emits at 940nm, matching the TSOP4838’s 38kHz sensitivity. Testers confirm strong, consistent transmission at close range with minimal wiring, making IRsend ideal for automation projects needing dependable NEC command delivery via IR LED.
On a final note
You’ve seen how the TSOP4838 reliably captures 38 kHz IR signals, and with the IRremote library, decoding and sending NEC commands is straightforward. Real testers confirm clean readings within 7–10 meters, provided wiring includes a 100 µF capacitor for stability. Garbage data usually means poor grounding or noisy power-fix it with a clean 5V supply. An IR LED in series with a 100 Ω resistor efficiently retransmits commands, making automation tasks repeatable, accurate, and beginner-friendly.