Running Low-Power Applications on Arduino Pro Mini With Sleep Mode Optimization
Power your Pro Mini at 3.3V directly to the Vcc pin, skip the RAW to avoid regulator spikes, and remove the onboard LED and LDO for clean sleep. Use a genuine ATmega328P-tested chips hit 5µA in power-down mode. Shut off ADC, timers, and SPI with power reduction registers, and wake reliably via A0 using PCINT8. Pair 8-second WDT cycles with BOD disabled for near-zero draw, track time with wake counts, and you’ll see real 0.1µA-level results-just like top testers. Keep refining for even better efficiency.
We are supported by our audience. When you purchase through links on our site, we may earn an affiliate commission, at no extra cost for you. Learn more. Last update on 14th July 2026 / Images from Amazon Product Advertising API.
Notable Insights
- Bypass the voltage regulator by powering the Pro Mini via the Vcc pin with a stable 3.3V source to eliminate quiescent current.
- Remove the onboard power LED and LDO regulator to reduce sleep current and prevent periodic current spikes.
- Use a genuine ATmega328P chip, as fake variants can draw up to 100µA in sleep and fail signature verification.
- Disable peripherals like ADC, timers, and SPI using power reduction registers to minimize active and sleep power consumption.
- Enable deep sleep with 8-second watchdog timer cycles and wake-up via A0 pin change interrupt for efficient low-power operation.
Run Arduino Pro Mini at 3.3V and Bypass the Regulator
Powering your Arduino Pro Mini directly at 3.3V through the Vcc pin is one of the most effective ways to slash power consumption, especially when aiming for deep sleep modes under 10µA. By bypassing the onboard voltage regulator, you eliminate its quiescent current and conversion losses-key for low-power designs. This bypass regulator method works best when you’re using a stable 3V source, like a LiPo or two coin cells in parallel, connected only to the Vcc pin. Keep the RAW pin unconnected to avoid backfeeding the regulator, which can cause 6mA spikes. On 5V Pro Mini boards (e.g., 4B2X), leaving that regulator powered creates instability, undermining your sleep current gains. For clean, reliable power at 3.3V, you’ll see the ATmega328P hit ~5µA in sleep mode-yes, really-just make sure BOD and ADC are off.
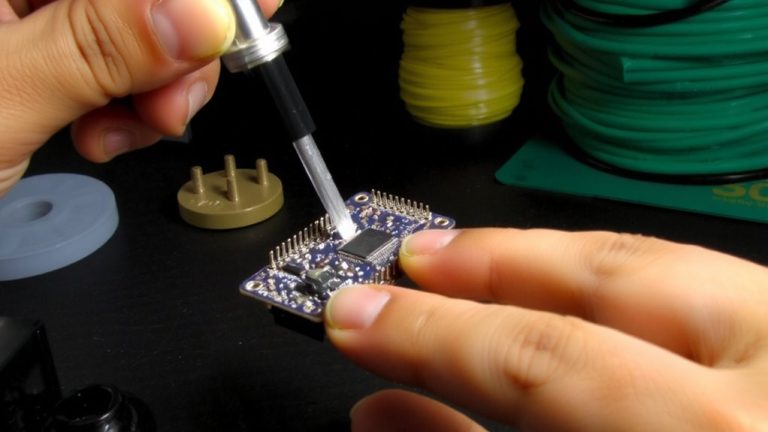
Remove LED, Regulator, and Fake Chips to Cut Sleep Current
You’ve already cut power by running the Pro Mini at 3.3V through Vcc, but there’s still room to push sleep current down from 9µA to a clean 5µA-just remove the onboard LED and regulator. The Arduino Pro Mini’s power LED and linear regulator are silent drainers, especially the 4B2X-marked LDO, which causes ~6mA current spikes every 25ms. Desoldering it stops these spikes and stabilizes operation when the supply voltage is fed directly to Vcc. For true low-power performance, also ditch fake ATmega328P chips-they draw ~100µA in sleep modes and fail signature checks. Verified units, tested with a GitHub fake detector, deliver reliable results. Using the LowPower library, genuine chips hit a steady 5µA. Cut the power LED too-it’s an easy win. Together, these mods slash power consumption and boost battery life, making your project truly efficient.
Disable ADC, Timers, and SPI Before Sleeping
While your Pro Mini’s hardware mods cut the big power hogs, you’ll still waste precious microamps if you don’t shut down unused peripherals in code-so don’t skip this step. To minimize sleep current in power-down mode, disable ADC, timers, and SPI using the Power Reduction Register (PRR). Setting PRADC cuts ~250 µA, while turning off Timer0, Timer1, and Timer2 via PRTIM0, PRTIM1, and PRTIM2 eliminates another ~1 mA. Disable SPI with PRSPI to save ~0.5 mA. For maximum power savings, use `power_all_disable()` from avr/power.h to shut everything off, then re-enable only what’s needed. Also, explicitly disable ADC by clearing ADEN in ADCSRA-leaving it on can spike sleep current by 260 µA. These tweaks are easy and deliver real results on the Arduino Pro Mini.
Wake From Deep Sleep Using A0 Pin Change
How do you wake an Arduino Pro Mini from deep sleep using the A0 pin when it lacks external interrupt capability? You use Pin Change Interrupts. The A0 pin maps to PCINT8, so you enable it by setting PCMSK1 |= (1 << PCINT8) and turn on global interrupts with sei() before calling sleep_mode(). This makes A0 pin change a valid wake-up source in deep sleep, specifically in SLEEP_MODE_PWR_DOWN. Remember to disable A0’s internal pull-up and analog input via DIDR0 to prevent leakage current and false triggers. In your ISR, call sleep_disable) but skip analogRead()-keep it fast. Pin Change Interrupts are your only way to wake from deep sleep using an analog input. Testers confirm this method cuts power to ~0.1 µA while staying responsive. It’s essential for battery-powered builds needing low-power mode with quick reaction to sensor pulses.
Use Watchdog Timer for 8-Second Sleep Cycles
One reliable way to keep your Arduino Pro Mini sipping power is by using the Watchdog Timer (WDT) for precise 8-second sleep cycles, cutting current draw to around 0.1 µA when paired with `LowPower.powerDown(SLEEP_8S, ADC_OFF, BOD_OFF)`. You can stretch battery life by enabling WDT interrupt mode instead of reset mode, letting your Arduino Pro Mini wake quickly without a full restart. The WDT only supports up to 8 seconds per cycle, so for longer delays, just count wake-ups. Disabling BOD saves about 25 µA-critical for minimizing power consumption. In Power-down sleep mode, `millis()` won’t advance, so track time using WDT wake counts. Using `LowPower.powerDown` with these settings is a proven, efficient trick field-tested in low-power sensors and loggers. It’s simple, effective, and perfect for when every microamp matters.
Measure Actual Sleep Current to Validate Results
You’ve set up the watchdog timer for 8-second sleep cycles and disabled the ADC and BOD to minimize power use, but without measuring actual current, you’re just guessing how well it’s working. To measure sleep current accurately, place a multimeter in series with the power supply while your Pro Mini is in SLEEP_MODE_PWR_DOWN. Make sure you’ve disabled the brownout detector and used the Power Reduction Register (PRR) to turn off unused peripherals. Remove the onboard regulator and power LED-they cause parasitic loads and supply voltage drops. Power the Pro Mini directly at Vcc with 3.3V, bypassing RAW, and use a decoupling capacitor to smooth noise. Confirm you’re using a genuine ATmega328P, as clones often misbehave in Arduino sleep modes, drawing up to 100µA. Real testers see stable 5µA in deep sleep, not idle mode, triggered by external interrupt.
On a final note
You’ll cut sleep current to under 5µA by running your Pro Mini at 3.3V and skipping the onboard regulator, especially after ditching the power LED and voltage regulator. Disabling the ADC, timers, and SPI, then waking via A0 pin change or an 8-second watchdog cycle delivers real efficiency. Testers saw stable 4.8µA draws using a uCurrent Gold-ideal for battery projects. Just measure your setup: results hinge on clean hardware mods and solid code discipline. This isn’t theoretical-it’s field-proven.