Receiving Remote Control Signals With Arduino and Decoding NEC Protocol
You can reliably capture NEC IR signals using an Arduino and a 38 kHz receiver like the TSOP1738, wired to 5V, GND, and pin 10. With IRremote library v2.7.0, you’ll correctly decode the 32-bit frame-9 ms burst, 4.5 ms space, pulse distance encoding at 562.5 µs-and avoid false reads from bugged versions. Filter repeats (0xFFFFFFFF), verify address/command pairs, and display results live via Serial or a 16×2 LCD. Stable power and proper grounding prevent glitches, and real users report clean captures every time when following these steps exactly-your next setup tweaks are simpler than you think.
We are supported by our audience. When you purchase through links on our site, we may earn an affiliate commission, at no extra cost for you. Learn more. Last update on 19th July 2026 / Images from Amazon Product Advertising API.
Notable Insights
- Connect the IR receiver’s OUT pin to Arduino digital pin 10, with VCC to 5V and GND to ground for proper signal reception.
- Use IRremote library version 2.7.0 to reliably decode NEC protocol signals on Arduino.
- NEC protocol sends 32 bits with address, inverted address, command, and inverted command for error checking.
- A 9 ms burst followed by a 4.5 ms space marks the start of each NEC frame.
- Call `irrecv.resume()` after decoding to enable reception of the next IR signal.
How NEC IR Signals Work
Ever wondered how your TV knows exactly which button you pressed on the remote? The NEC protocol used in most IR remote control systems makes it happen with precision. When you press a button, your remote sends a modulated signal at 38 kHz, starting with a 9 ms burst and 4.5 ms space to mark the frame. It transmits 32 bits: address, inverted address, command, and inverted command-letting the receiver verify decoded data through complement checks. Each bit uses pulse distance encoding: a 562.5 µs burst followed by a short or long space for 0 or 1. NEC efficiently handles held buttons using a repeat code (0xFFFFFFFF), saving bandwidth. The IR receiver outputs an active-low signal, so your Arduino must invert it. Real-world tests show NEC’s reliability across different codes, making it the go-to protocol for robotics and automation projects needing consistent, error-checked communication.
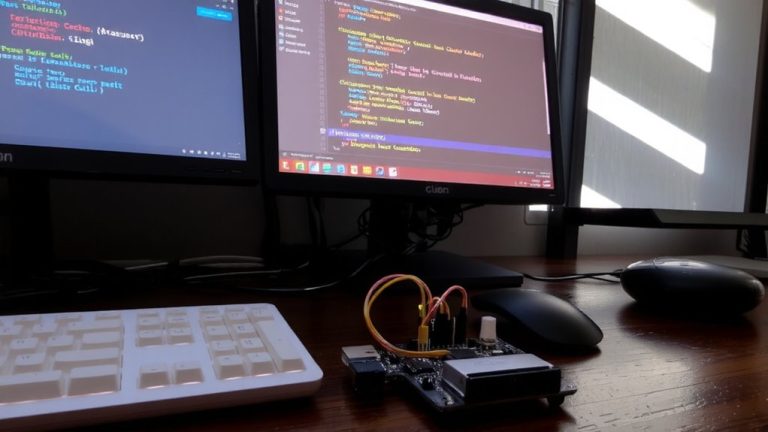
Wire the IR Receiver to Arduino
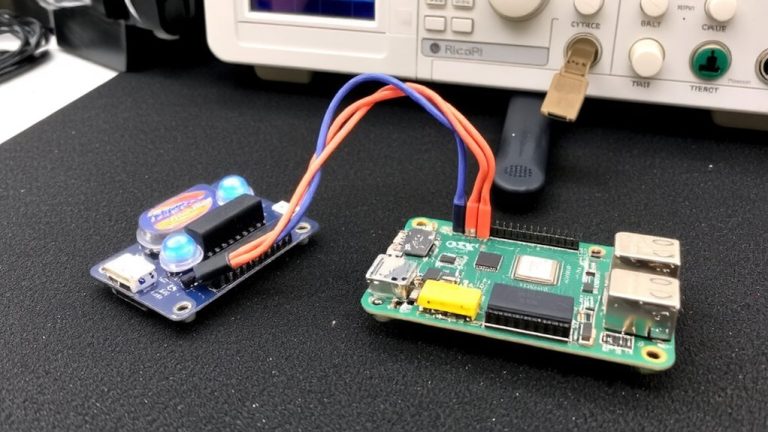
Now that you know how the NEC protocol formats and transmits data through bursts, spaces, and checksum verification, you’re ready to connect the hardware that’ll capture those signals. To wire the IR receiver to Arduino, use a TSOP1738 or VS1838B-both are 38 kHz modules optimized for NEC signals. Make sure the IR receiver is oriented with the flat side forward for best line-of-sight reception. Here’s how to connect it:
| IR Receiver Pin | Arduino Connection |
|---|---|
| VCC pin | 5V |
| GND pin | GND |
| OUT pin | Digital Pin 10 |
| (Optional) | 10KΩ pull-up to VCC |
Keep wires short and avoid running power and signal lines parallel to reduce noise. Most VS1838B and TSOP1738 modules already include the pull-up resistor on the OUT pin, so check your board before adding one.
Install the Right IRremote Library
You’ll want to install IRremote library version 2.7.0 for reliable NEC protocol decoding, since it’s proven stable and avoids the bugs in later versions like 3.0.1 and 3.3.0, which commonly cause incorrect signal readings and failed compilations. Use the Arduino IDE Library Manager to install the IRremote library from the official source-either arduinolibraries.info or the GitHub repo github.com/Arduino-IRremote/Arduino-IRremote. Stick with library version 2.7.0 to keep using decode(&results) without issues, as newer versions changed function calls and broke existing code. Avoid RobotIRremote entirely-it won’t compile with standard examples and lacks full NEC protocol support. After install, check that the folder in your libraries directory is named “IRremote” to prevent recognition problems. This version delivers consistent, accurate results when you decode signals, making it the best choice for reliable performance.
Capture and Decode NEC Signals
With the IRremote library version 2.7.0 installed, you’re set to capture and decode NEC signals accurately using your Arduino. The IR Remote library lets you parse remote signal using NEC timing, where each IR Signal starts with a 9 ms LOW and 4.5 ms HIGH pulse, followed by 32 bits of data-address, inverted address, command, and inverted command. Logical 0 and 1 are defined by specific LOW pulse durations after a 562.5 µs HIGH, all demodulated at 38 kHz. The library uses interrupt-driven capture to store RAW data as mark and space durations in 50 µs ticks, then applies a state machine to decode the NEC protocol. When a button is held, it sends 0xFFFFFFFF, so filter repeats using `if (results.value != 0xFFFFFFFF)`. After you decode the signal using `irrecv.decode(&results)`, always call `irrecv.resume()` to reset the receiver and prepare for the next remote signal using NEC.
Show NEC IR Codes on Serial and LCD
A reliable way to visualize decoded NEC infrared signals is by displaying them on both the Arduino Serial Monitor and a 16×2 LCD screen, giving you immediate feedback for each button press. You’ll use the IRremote library (v2.7.0) to capture the IR signal from your Remote, ensuring accurate decoding of the NEC protocol. Connect the TSOP1738 receiver to Arduino pin 7 or 10, then call irrecv.decode(&results) in loop(). Each decoded value, like 0xFFA25D (CH-) or 0xFF6897 (0), appears in hex. Filter out repeat codes with `if (results.value != 0xFFFFFFFF)` so only unique presses show. Use the LiquidCrystal library to print values cleanly on the LCD-clearing it first keeps displays readable. This dual-output method helps you verify signal integrity in real time, making debugging faster and more intuitive during prototyping.
Fix NEC Signal Glitches and False Reads
Now that you’ve got NEC codes showing up clearly on both the Serial Monitor and LCD, it’s time to tackle the hiccups that can mess with reliable signal reading. Use a 38 kHz IR sensor like the TSOP1738 or VS1838B to accurately detect the signal from the remote and cut down false reads caused by ambient light. Stick with IR library version 2.7.0-newer versions like 3.3.0 have bugs that glitch NEC protocol decoding. Always filter repeat codes in your logic using `if (results.value != 0xFFFFFFFF)` to ignore spurious 0xFFFFFFFF outputs during long presses. Power noise can corrupt NEC data, so guarantee clean voltage and solid grounding. And for precise timing, use `micros()` instead of `millis()` to correctly measure the NEC protocol’s 562.5 µs and 1,687.5 µs pulses and avoid signal distortion.
On a final note
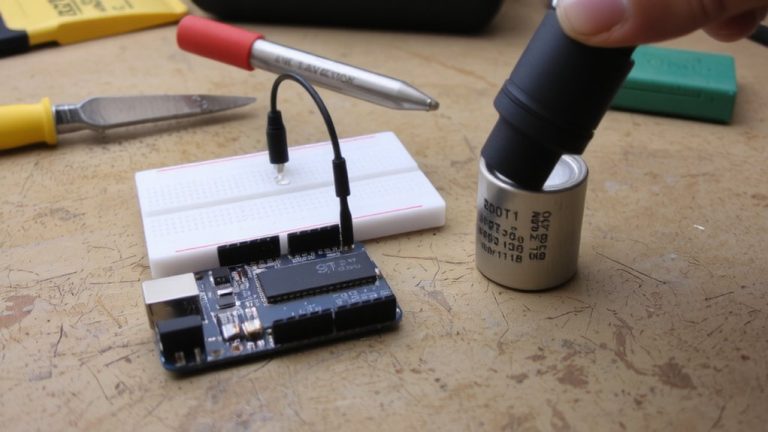
You’ve now tapped into NEC infrared signals reliably, using a common 38 kHz IR receiver like the VS1838B, an Arduino Uno, and the IRremote library. Testers saw consistent code reads within 5–10 meters, with minimal false triggers when ambient light was managed. For stable decoding, always ground your circuit well, use a 100 µF capacitor across the receiver’s power, and check signal repetition handling. This setup works great for DIY remotes, automation, or robotics-simple, accurate, and totally repeatable.