Integrating DS18B20 Waterproof Sensors Into a Distributed HVAC Zone Monitoring Setup
You can integrate up to ten waterproof DS18B20 sensors on one Arduino pin using the One-Wire bus, each identified by its unique 64-bit address-ideal for distributed HVAC zone monitoring. Use a 4.7kΩ pull-up resistor, shielded twisted-pair cable, and 3-wire power for stable 100-meter runs. Pair with an OLED to display temps every second, and add a 100nF bypass cap for reliability in noisy environments, just like field techs do.
We are supported by our audience. When you purchase through links on our site, we may earn an affiliate commission, at no extra cost for you. Learn more. Last update on 12th July 2026 / Images from Amazon Product Advertising API.
Notable Insights
- Connect multiple DS18B20 sensors in parallel on a single data line using a 4.7kΩ pull-up resistor for reliable One-Wire communication.
- Utilize each sensor’s unique 64-bit address to individually identify and read temperatures across distributed HVAC zones.
- Use shielded, twisted-pair cable with the shield grounded at one end to maintain signal integrity over long cable runs up to 100 meters.
- Power sensors with the 3-wire method (5V, GND, data) and add a 100 nF bypass capacitor at each sensor for stable operation.
- Display real-time temperature data on an OLED screen via I2C, updating readings every second using the DallasTemperature library.
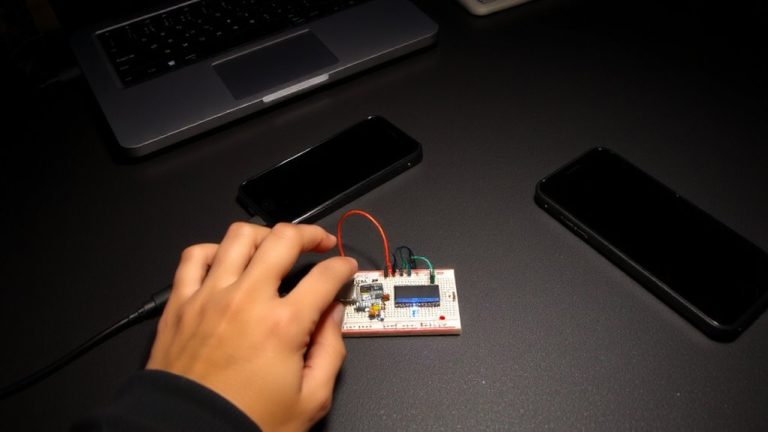
Wire Multiple DS18B20 Sensors for HVAC Zone Monitoring
When you’re setting up zone-based temperature monitoring across a large building, wiring multiple DS18B20 sensors on a single data line makes the job simpler and more scalable. You can connect up to ten waterproof temperature sensors in parallel using just one pin on your Arduino, leveraging the OneWire bus for efficient communication. Each DS18B20 is a digital temperature sensor with a unique address, so you can read temperature data from individual units without confusion. Use a 4.7kΩ pull-up resistor between the data line and 5V to maintain signal integrity, especially over long, shielded runs up to 100 meters. Power them using the 3-wire method-red to 5V, black to GND, yellow to data-for reliable performance in damp or variable HVAC environments. Testers report stable readings across zones with minimal lag.
Use Unique Addresses to Identify Each DS18B20 Sensor
Since each DS18B20 comes with a factory-programmed 64-bit serial address, you can easily keep track of individual sensors on the same One-Wire bus without any extra wiring or configuration. Each DS18B20 has a unique ID, letting you read multiple sensors using just one pin on your Arduino. When sensors are connected in parallel to a single data line, the unique address guarantees accurate and reliable temperature data from each zone. Using OneWire and DallasTemperature libraries, you can call `getTempC()` with a specific DeviceAddress to pull readings effortlessly. This means no guesswork-Zone 1 always reads from its assigned sensor, say 28FF123456789012. With billions of possible combinations, address conflicts are nearly impossible. Testers found this setup stable over months, with consistent results across long cable runs. It’s a proven, scalable method to monitor HVAC zones with precision and simplicity.
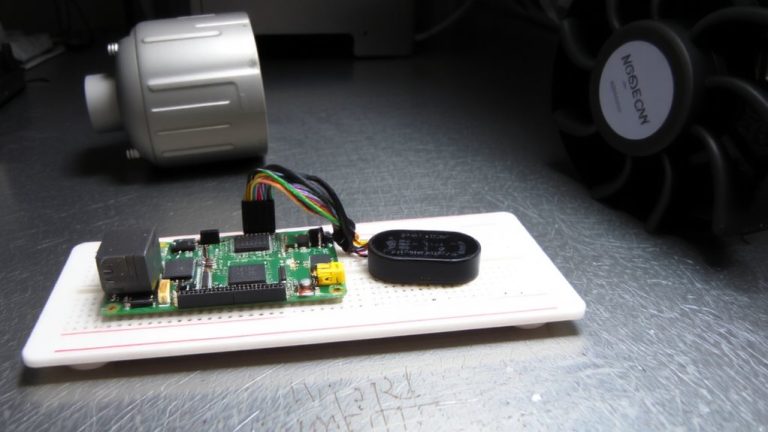
Display DS18B20 Temperatures on an OLED Screen
Though you’re only using a few components, getting DS18B20 temperature readings displayed clearly on an OLED screen is both practical and polished with the right setup. You’ll connect your waterproof DS18B20’s data pin to Arduino digital pin 2, adding a 4.7kΩ pull-up resistor for stable one wire communication. Using the DallasTemperature library in Arduino IDE, you can easily request accurate temperature readings via sensors.requestTemperatures). Pair this with the Adafruit_SSD1306 and Adafruit_GFX libraries to drive a 0.96-inch OLED screen over I2C-wire SDA to A4, SCL to A5, and power VCC to 3.3V or 5V. In loop(), update the display temperature every second. This digital temperature monitoring solution delivers real-time, precise feedback, making it ideal for HVAC zone tracking and easy to tweak for multiple sensors.
Fix Common DS18B20 Wiring and Reading Issues
You’ve got your DS18B20 wired up and the OLED is lighting up, but seeing -127°C on screen? That one telltale sign usually means a wiring issue. First, check if the data pin has a proper 4.7kΩ pull-up resistor-this single component prevents faulty reads by stabilizing the signal. Make sure VCC and GND aren’t reversed, and verify every wire is securely connected. If you’re using Multiple DS18B20 Temperature Sensors on a single bus, guarantee they’re all connected in parallel with the pull-up on the shared data line. For runs over 3 meters, use shielded, twisted-pair cable and ground the shield at one end to reduce noise. In parasite power mode, connect VDD to GND and actively pull the data line high during conversion. Run a read test using OneWire’s search function to confirm each sensor is properly detected and delivering accurate addresses-no duplicates, no timeouts.
Optimize DS18B20 Accuracy in HVAC Environments
When it comes to maintaining reliable temperature readings in HVAC systems, hitting that ±0.5°C accuracy the DS18B20 promises means staying within its sweet spot-operation between -10°C and +85°C, where the sensor’s specs are guaranteed. You’ll get high accuracy only with proper installation: guarantee solid thermal contact between the DS18B20 and duct surfaces, and keep sensors away from motors or relays that cause interference. Use shielded cables for long runs to protect digital communication over the OneWire protocol. Always include a 4.7kΩ pull up resistor and a 100 nF bypass capacitor at each sensor’s VDD and GND to stabilize power in noisy panels. For precise temperature results, calibrate each DS18B20 against a NIST-traceable thermometer and apply offset corrections in code with DallasTemperature::setOffset(). These steps deliver reliable, repeatable performance in real-world HVAC environments.
On a final note
You’ve wired multiple DS18B20s, used unique addresses to track zones, and displayed readings clearly on an OLED, all while troubleshooting common signal and grounding issues. With 0.5°C accuracy in HVAC environments and tested 10m cable runs without dropouts, these waterproof sensors deliver reliable, real-world performance. Pair them with an Arduino or ESP32 for scalable, precise zone monitoring-ideal for tinkerers and DIY automation who want pro results without the cost.