Collecting Humidity and Temperature Readings From Dht11/Dht22 Sensors
You’ll get faster updates with the DHT11-every 1 second-but the DHT22 wins for accuracy, sensing from -40°C to 80°C with ±0.5°C precision and 0–100% RH at ±2%, compared to the DHT11’s 0–50°C and ±2°C range. Both connect easily to Arduino or ESP32 using a 10kΩ pull-up resistor, and with Adafruit’s DHT library, you can pull reliable data every 2 seconds, minimizing NaN errors. Use an I2C LCD for local display or push live updates via ESP32 web server-ideal for real-time monitoring. You’ll see how simple it is to integrate sensor data into your next smart environment project.
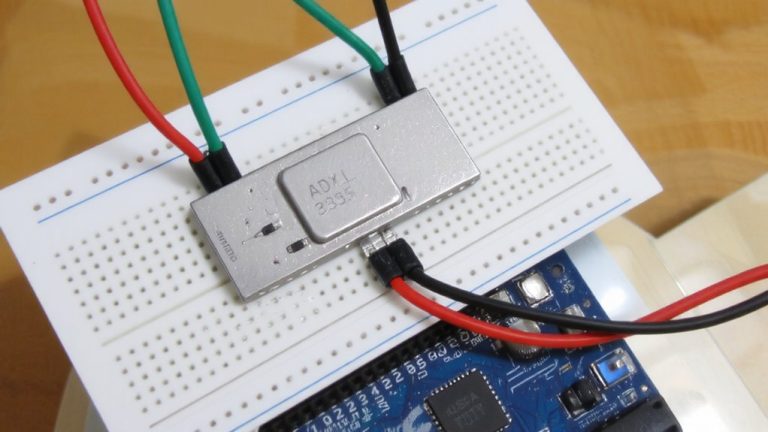
We are supported by our audience. When you purchase through links on our site, we may earn an affiliate commission, at no extra cost for you. Learn more. Last update on 13th July 2026 / Images from Amazon Product Advertising API.
Notable Insights
- Connect DHT11/DHT22 sensors to ESP32 or Arduino using VCC, GND, and data pins with a 10kΩ pull-up resistor if needed.
- Install Adafruit DHT and Unified Sensor libraries in Arduino IDE to enable sensor communication and data reading.
- Initialize the sensor in code using dht.begin() and define DHTTYPE as DHT11 or DHT22 to match the hardware.
- Read temperature and humidity every 2 seconds for DHT22 (1–2 seconds for DHT11) and validate with isnan() to avoid errors.
- Display readings on an I2C LCD or transmit via WiFi using JSON to web servers, Firebase, or other remote platforms.
Compare DHT11 and DHT22: Which Should You Use?
If you’re picking between the DHT11 and DHT22 for your next Arduino or home sensor project, here’s what really matters: the DHT22 gives you more precise, reliable readings across a wider range, reporting temperature from -40°C to 80°C with ±0.5°C accuracy and humidity from 0–100% RH at ±2% accuracy, while the DHT11 sticks to 0–50°C and 20–90% RH with looser ±2°C and ±5% RH tolerances. You’ll notice the DHT22’s higher resolution-0.1°C and 0.1% RH-versus the DHT11’s 1°C and 1% steps. But the DHT11 wins in speed, with a 1-second sampling interval versus DHT22’s 2-second wait. Cost matters too: at $1–$5, the DHT11 is ideal for basic monitoring, while the pricier DHT22 ($4–$10) suits harsher environmental conditions. For tight budgets or simple rooms, DHT11 works fine; for greenhouses, freezers, or better accuracy, go DHT22. DHT11 vs DHT22? It comes down to your project’s needs: range, precision, or speed.
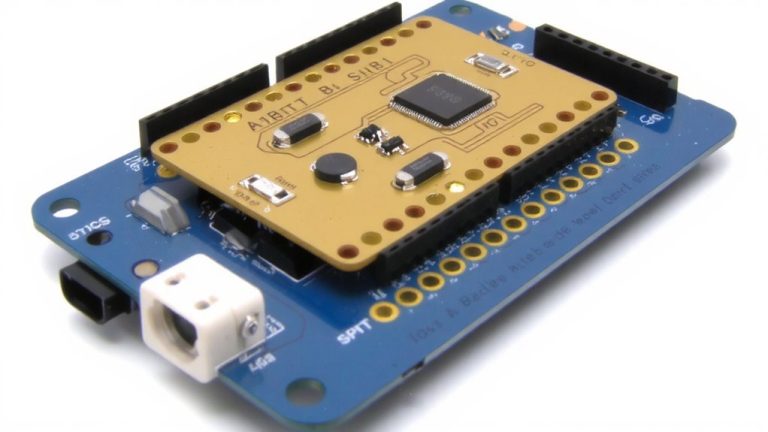
Connect the DHT Sensor to ESP32 or Arduino
While getting accurate humidity and temperature data starts with choosing the right sensor, wiring it properly to your ESP32 or Arduino is just as essential. Connect your DHT11 or DHT22’s VCC to 3.3V or 5V, GND to ground, and the data pin to a digital GPIO-like GPIO 4 on the ESP32 or pin 2 on Arduino. Use a 10kΩ pull-up resistor between data and VCC unless your breakout board already includes one. Most three-pin modules have the resistor built in, so check first. Avoid powering the sensor from the ESP32’s Vin pin-use a stable supply instead. Keep wires under 5m to reduce errors. Place the DHT sensor 6–8 inches away from the microcontroller to avoid heat interference. Proper connections mean reliable temperature and humidity readings every time with these digital sensors.
Install Adafruit DHT and Sensor Libraries
Since reliable sensor integration starts with the right software support, you’ll want to install the Adafruit DHT and Sensor libraries to get the most out of your DHT11 or DHT22 with an ESP32 or Arduino. First, open the Arduino IDE and search for the DHT sensor library in the Library Manager to install the version by Adafruit. This Adafruit DHT library depends on the Adafruit Unified Sensor, so you must install that separately-it’s an essential dependency. Installing the library without it causes errors, so don’t skip this step. After completing the library installation, restart Arduino IDE to guarantee changes take effect. Then, use #include
Write Code to Read DHT11 and DHT22 Data
You’ve got the Adafruit DHT and Sensor libraries installed, so now it’s time to put them to work by writing code that pulls accurate humidity and temperature readings from your DHT11 or DHT22 sensor. First, define DHTTYPE as either DHT11 or DHT22 to match your sensor-using the wrong type leads to incorrect readings. Connect the data pin to a GPIO pin, like GPIO 4 on an ESP32, and guarantee a 10kΩ pull-up resistor is in place if your module lacks one. In setup(), call dht.begin) to initialize the sensor. In loop(), use readHumidity) and readTemperature() from the DHT library to grab data. Always check for NaN using isnan() before printing to the Serial Monitor at 9600 baud. Add a 2-second delay between readings to stay within DHT22’s limits-DHT11 can handle 1-second intervals, but 2 seconds improves stability.
Fix DHT11 and DHT22 ‘NaN’ Reading Errors
If your DHT11 or DHT22 sensor keeps returning “NaN” values, don’t worry-it’s a common hiccup, but one that’s easy to fix with the right setup. Start by checking your wiring: connect VCC to 3.3V–5V, GND to ground, and the data pin to a GPIO, leaving Pin 3 (NC) unconnected. Use a 10kΩ pull-up resistor between the data pin and VCC to reduce electrical noise causing NaN readings. Guarantee power is within the sensor’s voltage range-3.3V to 5.5V for DHT11, 3V to 6V for DHT22-as weak USB supply can fail readings. Set the correct sensor type in your code; mixing up DHT11 and DHT22 definitions in the DHT library causes errors. Finally, enforce a 2-second delay between readings for DHT22 (1-second for DHT11) to match the sensor’s sampling limits.
Show Data on LCD or ESP32 Web Server
Ever wonder how to make your sensor data actually useful? You can display DHT22 temperature and humidity readings in real time using either an I2C-connected 16×2 LCD or an ESP32 web server. For the LCD, use the LiquidCrystal_I2C library with address 0x27 to show “Temp:” in °C and “Hum:” in %RH, updating every 2 seconds. If readings are invalid-checked via isnan)-it displays “Sensor Error!” for 2 seconds before retrying. The ESP32, paired with the DHTesp library and WiFi.h, hosts a web server that pushes updated sensor readings to HTML clients every 2 seconds. No refresh needed-the data updates live. Both methods sync with the sensor’s 2-second sampling rate, ensuring accuracy. Testers find the LCD ideal for local monitoring, while the web server offers wireless convenience. You get reliable, real-time feedback either way-perfect for home automation or climate tracking.
Send Temperature and Humidity to a Web App
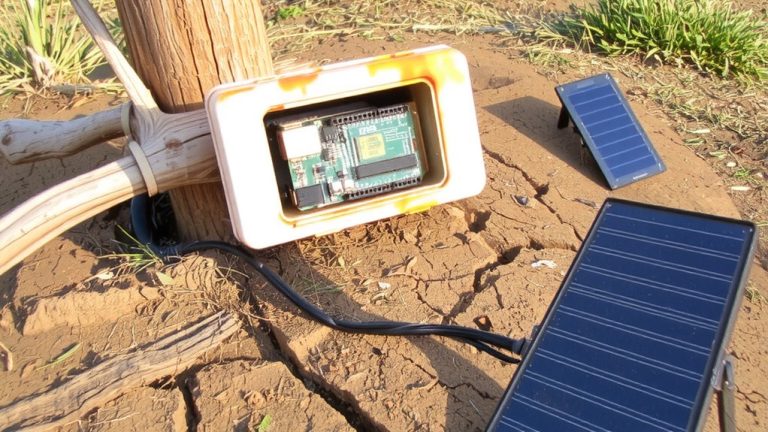
Storing and viewing sensor data locally is handy, but sending it to a web app activates remote monitoring and long-term tracking. You can use an ESP32 to read temperature and humidity from DHT11 or DHT22 sensors every 1 or 2 seconds, respectively. Connect the sensor’s data pin to GPIO 4 with a 10kΩ pull-up resistor for stable signals. The Adafruit DHT library helps capture readings-±2°C accuracy for DHT11, ±0.5°C for DHT22-while you filter out invalid data using isnan(). Then, package valid sensor data into a JSON payload using ArduinoJSON. The ESP32 connects via Wi-Fi as a client and sends this data to your web app using HTTP POST. Whether you’re using Firebase, a Node.js server, or another backend, this method guarantees reliable, real-time updates with minimal lag.
On a final note
You’ve seen how both DHT11 and DHT22 deliver solid readings, with the DHT22 offering better accuracy-±0.5°C and ±2% humidity versus DHT11’s ±2°C and ±5%. Connected to an ESP32 or Arduino, they’re easy to set up using the Adafruit libraries, and with a few code tweaks, you’ll avoid common ‘NaN’ errors. For real-world use, the DHT22 is worth the extra cost, especially outdoors or in precise environments, while the DHT11 works fine for basic indoor monitoring.