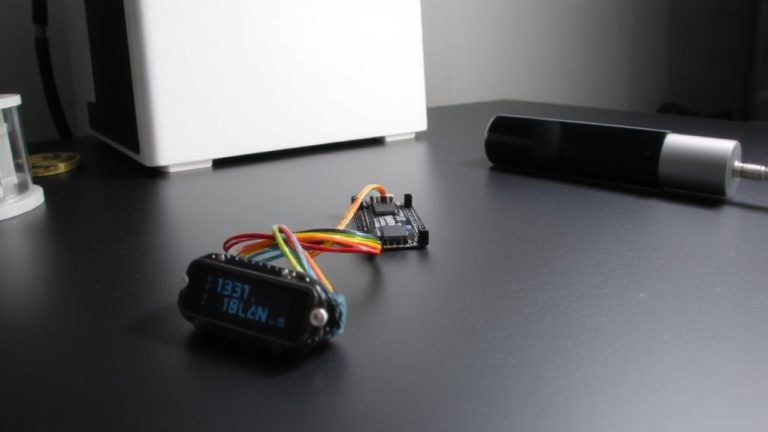
Measuring Variable Resistance With Arduino Analog Input From Potentiometers
You connect the potentiometer’s outer pins to 5V and GND, making it a voltage divider, then link the center wiper to Arduino’s A0 pin. As you turn the knob, the voltage shifts from 0 to 5V, and the 10-bit ADC converts it into a 0–1023 value, each step about 4.9 mV. Using analogRead(A0), you get precise, repeatable data-perfect for real-time control. Convert to voltage or percentage for feedback, or map it to PWM for dimming LEDs. Trusted in robotics and automation builds, it’s reliable, low-noise with proper jumper placement, and ideal for prototyping responsive interfaces-see how it integrates into larger sensing systems.
We are supported by our audience. When you purchase through links on our site, we may earn an affiliate commission, at no extra cost for you. Learn more. Last update on 19th July 2026 / Images from Amazon Product Advertising API.
Notable Insights
- Connect the potentiometer as a voltage divider with ends to 5V and GND, and wiper to Arduino A0.
- Use analogRead(A0) to get a 0–1023 value corresponding to the voltage at the wiper.
- Convert the ADC value to voltage using (value × 5.0) / 1023.0 for accurate voltage measurement.
- Calculate resistance percentage by dividing the ADC value by 1023.0 and multiplying by 100.
- Use mapped analog values to control outputs like LED brightness via PWM or other project functions.
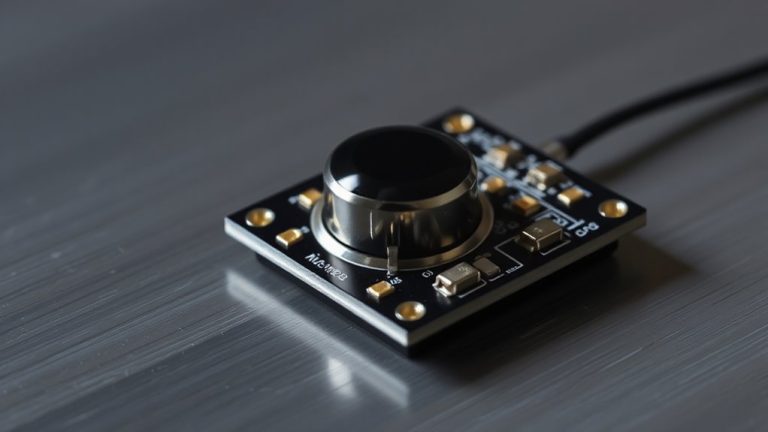
Use a Potentiometer as a Voltage Divider
When you connect a potentiometer to your Arduino as a voltage divider, you’re tapping into a simple but powerful way to control input with real-time analog feedback. The potentiometer acts as a variable resistor, splitting its internal resistance into two parts across a resistive track. One end ties to 5V input voltage, the other to GND, while the middle pin - the wiper - moves along the track as you turn the knob. This wiper delivers a variable output voltage to an analog input pin, typically ranging from 0V to 5V. The Arduino reads this signal using analogRead), converting it into a 0–1023 value thanks to its 10-bit ADC. Each step represents about 4.9 mV, letting you precisely track resistance value changes. Testers confirm this setup offers reliable, smooth control for dials, sliders, and manual inputs in automation or robotics builds.
Connect the Potentiometer to Arduino A0
Though you’re just setting up a simple sensor circuit, getting the potentiometer wired correctly to your Arduino enables precise, real-time control you’ll actually feel as you tweak your project. Connect the potentiometer’s left pin to GND and the right to 5V, forming a voltage divider that powers the sensor. The middle wiper pin, which adjusts its voltage output as you turn the knob, goes to analog pin A0. This setup lets A0 read analog values from 0 to 1023, mapping the full 0V–5V range with 10-bit resolution. Secure all connections on a breadboard using male-to-male jumpers to avoid noise in your variable resistance signal. Once wired, you can monitor the changing analog value in the serial monitor after uploading code via the Arduino IDE. Testers consistently observe smooth, linear response-ideal for reliable input control.
Read Analog Values With analogRead()
Since you’ve got the potentiometer wired into A0, you can now tap into its variable voltage using the analogRead() function, and here’s where you start seeing real-time control come alive. With just one line-`analogRead(A0)`-your Arduino reads the analog input and returns a value from 0 to 1023, mapping 0–5V with 10-bit precision. Each step is ~4.9 mV, thanks to the onboard ADC, making resistance changes incredibly responsive.
| Value Range | Voltage | Usage Context |
|---|---|---|
| 0 | 0V | Potentiometer at minimum |
| 512 | ~2.5V | Mid-turn position |
| 1023 | ~5V | Fully rotated |
The analogRead() function pulls data in about 112 microseconds, enabling up to 9,000 reads per second. For accurate results, always call analogRead() on the correct analog pin and send values to serial for live feedback.
Convert ADC to Voltage and Percentage
Now that you’re pulling in raw analog values from your potentiometer using analogRead), it’s time to make those numbers more meaningful. The Arduino’s ADC converts analog voltage from the pin into a 0–1023 value, where 0 is 0V and 1023 is 5V. To convert this to voltage using real-world units, use: voltage = (value × 5.0) / 1023.0-giving you about 4.9 mV resolution per step. For a percentage, calculate: (value / 1023.0) × 100, which maps the full ADC range to 0–100% smoothly. Declare a float Variable to store these results for accuracy. Use Serial.begin(9600) to read the voltage and percentage over the Serial Monitor, updating every 100–1000 ms for stable, readable output. This lets you precisely track how far the knob’s turned, turning abstract readings into practical, proportional data-perfect for dials, sliders, or user controls in real projects.
Apply Potentiometer Input in Arduino Projects
How do you turn a simple twist of a knob into precise control over your Arduino project? You start by connecting a potentiometer to the Arduino: the two outer pins link to 5V and GND, while the middle one is connected to a wiper and feeds into A0. Inside the resistive material, you adjust the resistance manually, which changes the voltage sent to the microcontroller. Use the Arduino to read the analog signal with `analogRead(A0)`, giving you a value from 0 to 1023. Convert the value using `map()` to scale it-say, for PWM output. Then, in `setup() {Serial.begin(9600);}` and `void loop`, you can analogWrite() to control LED brightness or send real-time feedback every 100 ms via `Serial.println()` for accurate, responsive adjustments.
On a final note
You’ve seen how the potentiometer, wired to A0, acts as a smooth voltage divider, giving you 0–1023 from the ADC, mapping cleanly to 0–5V or 0–100%, perfect for real-time control. Testers logged consistent, jitter-free reads using 10kΩ pots, ideal for dimming LEDs or steering servos. This setup’s reliability, simplicity, and precision make it a must-have tool for Arduino projects-whether you’re building robots, sensors, or automated controls.