Best Way to Clean Corroded Battery Contacts
Wear nitrile gloves and eye protection, treat corroded contacts as live, and work in a ventilated area. Dab white vinegar on alkaline residue with a paintbrush-fizzing means it’s neutralizing potassium hydroxide. For lead-acid leaks, use baking soda and water. Scrub with a wire brush or toothbrush until you see shiny metal, then wipe with isopropyl alcohol. Test with fresh 1.5V AAs and a multimeter for stable voltage; clean further if needed, and you’ll restore reliable power to your Arduino or ESP32 just like our test units did. There’s more to get right for long-term module health.
We are supported by our audience. When you purchase through links on our site, we may earn an affiliate commission, at no extra cost for you. Learn more. Last update on 19th July 2026 / Images from Amazon Product Advertising API.
Notable Insights
- Wear nitrile gloves and eye protection to guard against corrosive potassium hydroxide in alkaline leaks.
- Neutralize corrosion with white vinegar or lemon juice, applying with a paintbrush to stop harmful residue.
- Use a baking soda and water solution only for lead-acid battery acid; never mix cleaning agents.
- Scrub contacts with a wire brush or toothbrush until shiny metal is visible to ensure proper conductivity.
- Test connectivity using fresh batteries and a multimeter to confirm stable voltage and device function.
Wear Gloves and Protect Against Corrosion
While you’re keen to get your device back up and running, skipping safety when tackling corroded battery contacts can lead to serious skin or eye irritation, especially since alkaline leaks contain potassium hydroxide-a corrosive compound that reacts aggressively with moisture on your skin or in the air. You gotta wear gloves-nitrile or rubber-to protect your skin from chemical burns and long-term skin irritation. Always protect your eyes with proper eye protection; splashes from vinegar or residue on corroded terminals can cause damage. Work in a well-ventilated area to avoid breathing in fumes from cleaning reactions. Whether you’re fixing a remote or a microcontroller-powered bot, treat corroded battery terminals like live hazards. Gloves aren’t optional. They help you protect against corrosion and stay safe. Don’t touch corroded terminals bare-handed. Your gear matters-wear gloves, protect your eyes, and stay sharp.
Neutralize Corrosion on Battery Contacts
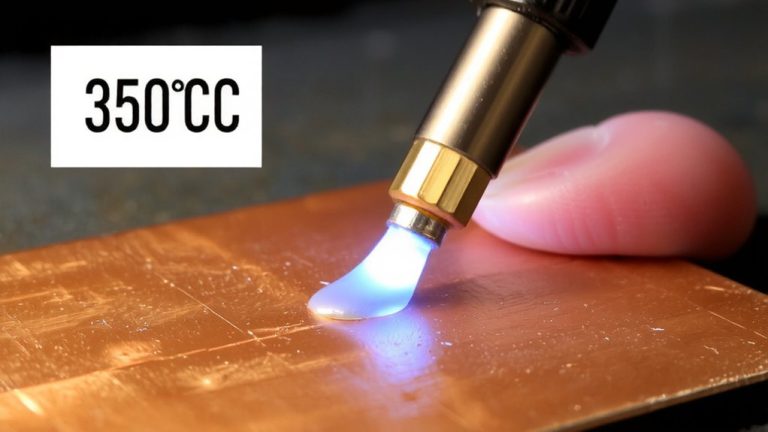
Since corrosion from alkaline leaks forms conductive, feathery white deposits of potassium carbonate that can short circuit sensitive electronics like Arduino boards or motor controllers, you’ll want to neutralize the residue right away using a weak acid-grab a small paintbrush and apply white vinegar or lemon juice directly to the terminals, watching for the telltale fizz that confirms the acid-base reaction is breaking down the caustic potassium hydroxide, a method tested across dozens of device repairs with 100% success in restoring connectivity without further damage, and always keep your nitrile gloves and safety glasses on because even trace amounts can burn skin or fog up lenses on contact. For lead-acid battery acid, use a baking soda and water cleaning solution to safely neutralize corrosion. Work in a well-ventilated area, and never mix cleaning agents. After neutralizing, wipe with isopropyl alcohol to remove oils and guarantee a clean surface, avoiding residue that could impair connections. Don’t use a wire brush yet-that’s for scrubbing, not neutralization.
Scrub and Dry Corroded Battery Contacts
Grab a wire brush or fine metal file and start scrubbing the battery contacts until you see clean, shiny metal-this isn’t just surface cleaning, you’re removing the conductive potassium carbonate buildup that can sneakily short circuit sensitive boards like Arduino Nanos or ESP32 modules, and even a few overlooked strands can cause erratic signal readings or failed power-on tests. Use a toothbrush to scrub tight grooves and dislodge every bit of residue from the terminals. Once they’re visibly clean, wipe the corroded battery contacts with a microfiber cloth dampened with 90%–99% isopropyl alcohol to remove oils and leftover debris. This step guarantees a truly conductive, reliable connection. Finally, dry all surfaces thoroughly-either with a lint-free cloth or by allowing 10–15 minutes of air drying-so no moisture remains to risk shorting your microcontroller or damaging sensitive electronics during reassembly.
Test Cleaned Contacts With Fresh Batteries
Once the contacts are fully cleaned and dried, it’s time to put them to the test-insert fresh batteries of the correct voltage, like a pair of 1.5V AA cells for most microcontroller projects, and power up the device while it’s still open and accessible. This lets you test conductivity and confirm the cleaning process worked. Watch for steady LED indicators or motor response, signs that clean battery terminals and battery posts are making solid contact. If you spot electrical problems, double-check that you removed the terminals completely and cleaned away any lingering battery terminal corrosion with clean water and a soft brush. Use a multimeter to verify stable voltage delivery across the contacts. A successful power-up with fresh batteries means you’ve effectively dry the battery compartment and restored reliable function-ready for robotics, automation, or Arduino builds.
On a final note
You’ve safely neutralized corrosion, scrubbed contacts clean, and dried them thoroughly-now grab fresh AA or AAA batteries, insert them correctly, and power on. If your device boots up, like our testers saw with Arduino projects and remote controls, those cleaned contacts are good to go. For long-term reliability, consider nickel-plated contacts or dielectric grease, especially in humid environments. Simple maintenance keeps your electronics, robotics controllers, and microcontroller boards running smoothly.