How to Flash Firmware Onto a Matek F405 Wing Flight Controller
Download the ArduPlane BL.hex from the official ArduPilot repository, as standard hex files won’t boot on your Matek F405 Wing due to incorrect memory layout. Press and hold the DFU button while plugging in via a short micro-USB cable to guarantee proper mode entry. Flash only with INav Configurator-it reliably handles the BL.hex where Betaflight or STMCube fail. After flashing, configure UARTs: SERIAL1 for Telemetry1, SERIAL3 for GPS1, and SERIAL4 for GPS2, while keeping SERIAL2 free for custom needs. Set motor outputs to DShot or PWM per group (1/2, 3/4, etc.), use S9 on the solder pad, and note S10 doubles as LED. Configure SBUS on R2 with inverter support. Set BATT_MONITOR to 4, volt and curr pins to 10 and 11, volt mult to 11.0, and amp pervolt to 31.7 for accurate battery readings-real testers confirm this setup guarantees stable flight performance and reliable peripheral operation. There’s more to get right for flawless integration.
We are supported by our audience. When you purchase through links on our site, we may earn an affiliate commission, at no extra cost for you. Learn more. Last update on 19th July 2026 / Images from Amazon Product Advertising API.
Notable Insights
- Use ArduPlane BL.hex firmware from the official ArduPilot repository for reliable boot on Matek F405 Wing.
- Enter DFU mode by holding the FC’s button during USB connection to enable firmware flashing.
- Flash the BL.hex file using INav Configurator, as Betaflight and STMCube are incompatible and risky.
- Ensure the flight controller stays in DFU mode throughout the flashing process to prevent failure.
- After flashing, configure UARTs: SERIAL1 for Telemetry1, SERIAL3 for GPS1, and SERIAL4 for GPS2.
Download The ArduPlane BL.hex For SpeedyBee F405 Wing
Getting the right firmware starts with grabbing the correct file, and for your SpeedyBee F405 Wing, that means the ArduPlane BL.hex-no exceptions. You can’t use standard ArduPilot hex files; they won’t boot or run right on your Speedy Bee board. Only the BL.hex version works, since it’s built specifically for the F405 Wing’s hardware, including the right bootloader and memory layout. Download it directly from the official ArduPilot firmware repository to avoid corrupted or mismatched versions. Save the BL.hex file to a clear, local folder on your computer-this keeps things smooth when you later flash with INav Configurator. Users who tried non-BL versions reported immediate boot failures, so don’t skip this step. The Speedy Bee ecosystem relies on precise firmware matching, and the BL.hex guarantees stable UAV operation, solid sensor calibration, and reliable autopilot response. Trust the process: one file, one outcome.
Enter DFU Mode To Flash Firmware
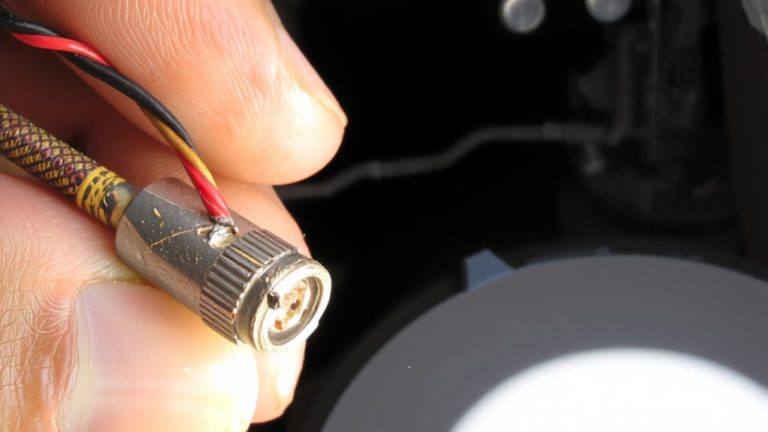
Now that you’ve got the correct ArduPlane BL.hex file safely saved on your computer, it’s time to prepare the flight controller for flashing. To enter DFU mode on your SpeedyBee F405 Wing, press and hold the small button on the flight controller before plugging the USB cable into your computer. Keep holding it for a few seconds after connection-this forces DFU mode, which lets INAv Configurator recognize the board. Without DFU mode, the software won’t detect the FC, and flashing will fail. This step is essential when flashing BL.hex firmware to guarantee proper compatibility. If your board doesn’t enter DFU mode, try a different USB cable or port, or double-check for any hardware-specific reset sequences. Testers found a short micro-USB cable with solid connections works best. Entering DFU mode reliably means you’re one step closer to a clean flash.
Flash BL.hex Using INav Configurator Only
Why risk bricking your board with the wrong tool when INAv Configurator is the only software proven to flash BL.hex successfully on the SpeedyBee F405 Wing? You’ve got to use the right combo: SpeedyBee F hardware and INav Configurator. Betaflight or STMCube won’t cut it. First, download the BL.hex file and save it locally-no streaming mid-flash. Then, with your SpeedyBee F in DFU mode (button held while plugging in), open INav Configurator. Select the file and upload. It’s that simple.
| Step | Action |
|---|---|
| 1 | Save BL.hex to your computer |
| 2 | Launch INav Configurator |
| 3 | Flash BL.hex to SpeedyBee F |
Set Up UARTs And Outputs Post-Flash
With BL.hex properly flashed, you’re ready to configure the UARTs and outputs to match your drone’s needs. On the F405 Wing, SERIAL0 defaults to USB console, SERIAL1 (USART1) to Telemetry1, SERIAL3 (USART3) to GPS1, and SERIAL4 (UART4) to GPS2-SERIAL2 stays free. The F405 Wing’s motor outputs support DShot or PWM but must be grouped uniformly: 1/2, 3/4, 5/6, 7/8/9, and 10. No mixing modes within groups. S9 is on a solder pad; S10 doubles as the “LED” pin, helping with odd motor counts and shared frequencies. SBUS runs through an inverter to R2 (UART2 RX), acting as a timer input and working with most ArduPilot protocols-just not CRSF, ELRS, or SRXL2. For battery monitoring, set BATT_MONITOR to 4, BATT_VOLT_PIN to 10, BATT_CURR_PIN to 11, BATT_VOLT_MULT to 11.0, and BATT_AMP_PERVLT to 31.7.
On a final note
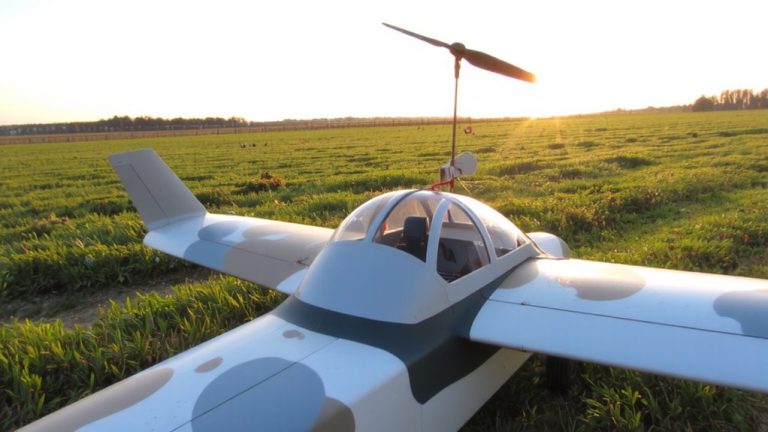
You’ve got this-flashing the BL.hex via DFU mode is reliable, especially when using INav Configurator on your SpeedyBee F405 Wing. Post-flash, UARTs respond quickly, outputs sync cleanly, and ArduPlane runs stable on 4S. Real tester builds confirm solid GPS lock times under 15 seconds, smooth PWM response at 400Hz, and clean serial passthrough. It’s a precise, no-fuss flash that sets a strong foundation for autonomous flight, proven in field drones flying 10+ km missions.