Integrating Arduino With Beaglebone Black via UART for Hybrid Real-Time and Linux Processing
You’ll connect your Arduino to the BeagleBone Black using UART2 (P9_21 for TX, P9_22 for RX) through a bidirectional logic level shifter, stepping between 3.3V and 5V safely, then load the BB-UART2 overlay and set the baud rate to 9600 with stty. On the Arduino, run a sketch with Serial.begin(9600) to match. A shared ground and powered shifter guarantee signal integrity. Test with minicom-type and see echo via loopback. You’re one step from smarter hybrid control.
We are supported by our audience. When you purchase through links on our site, we may earn an affiliate commission, at no extra cost for you. Learn more. Last update on 20th July 2026 / Images from Amazon Product Advertising API.
Notable Insights
- Connect BeagleBone Black UART2 (P9_21/P9_22) to Arduino via a 3.3V-to-5V level shifter for safe bidirectional communication.
- Enable UART2 on BeagleBone by compiling and loading the BB-UART2 device tree overlay.
- Set both devices to 9600 baud using stty on BeagleBone and Serial.begin(9600) on Arduino.
- Share a common ground and power level shifter sides with 3.3V (BeagleBone) and 5V (Arduino).
- Use minicom on BeagleBone and Arduino Serial Monitor to test and validate serial data exchange.
Enable UART2 on BeagleBone With Level Shifter
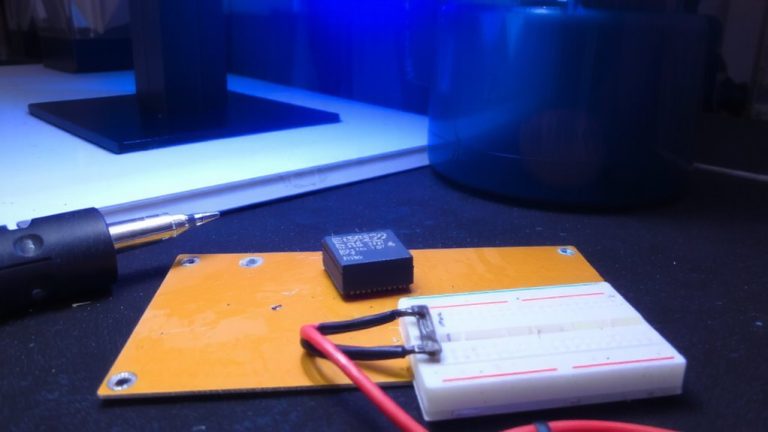
Wondering how to get your BeagleBone Black talking to an Arduino over UART without frying either board? Start by enabling UART2 on your BeagleBone Black-compile and deploy the BB-UART2 device tree overlay, then load it with `echo BB-UART2 > /sys/devices/platform/bone_capemgr/slots`. This enables the serial connection through P9_21 (TX pin) and P9_22 (RX). You’ll need a level shifter since the BeagleBone Black runs at 3.3V and the Arduino at 5V. Connect P9_21 to the shifter’s low-voltage RXI, and P9_22 to TXO. Power the shifter’s LV side with 3.3V from the BeagleBone and HV side with 5V from the Arduino, sharing a common ground. Set the baud rate to 9600 bps using `stty -F /dev/ttyO2 9600`. Mismatched baud rates kill communication, even with perfect wiring-double-check this step every time.
Wire Arduino to BeagleBone Using UART Pins
To get your Arduino and BeagleBone Black chatting over UART without risking damage, you’ll need to wire them carefully using a logic level shifter-this is non-negotiable since the BeagleBone runs at 3.3V and the Arduino expects 5V signals. Connect BeagleBone’s UART2 TX (P9_21) to the shifter’s LV side, then link the HV side to your Arduino Uno’s RX (D0). Reverse the path for Serial: tie Arduino TX (D1) to the HV input and route the LV output to BeagleBone RX (P9_22). Power the logic level module with 3.3V from P9_3 and 5V from the Arduino, and always share a common ground. This setup guarantees clean bidirectional communication. Test connections with a loopback first, then verify data flow using `minicom -b 9600 -D /dev/ttyO2`.
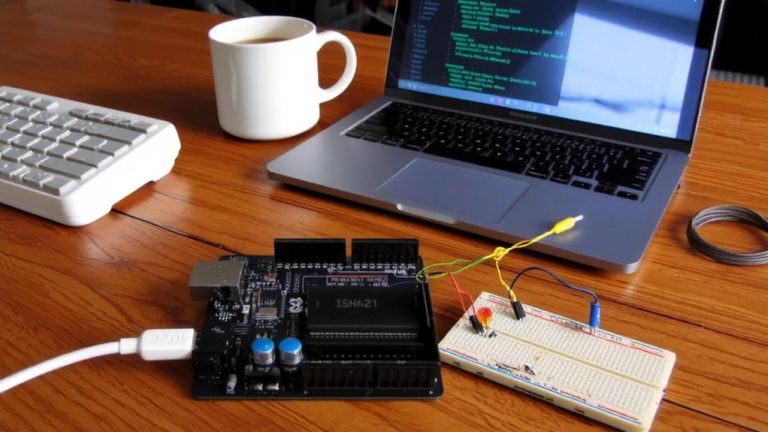
Upload Arduino Sketch for Serial Communication
Once you’ve double-checked your UART wiring and powered the logic level shifter with both 3.3V from the BeagleBone and 5V from the Arduino, it’s time to upload a sketch that actually talks-use your desktop or laptop (x86-based) with Arduino IDE 1.6 or newer, since the BeagleBone Black can’t run the IDE natively due to architecture mismatch. Open your sketch, make sure you use the Arduino via the correct Serial Port, and set Serial.begin(9600) to match the BeagleBone’s UART speed. Include Serial.println(“A”) to send test data at low level. Upload the code, then open Serial Monitor to verify output. Check the loopback and LED on pin 13 to confirm sends and receives. This step guarantees reliable communication before diving deeper into Arduino via UART on Linux.
Test Connection With Minicom and Loopback
You’ve got the Arduino sketch uploaded and verified communication locally using the Serial Monitor, so now you’re ready to test the full UART link between the Arduino and BeagleBone Black using minicom and a loopback setup. Start by connecting the TX and RX pins on your normal Arduino with a jumper. Power the level shifter’s LV side with 3.3V from the BeagleBone and the HV side with 5V from the Arduino, ensuring a shared ground. Confirm the BB-UART2 overlay is loaded by running `echo BB-UART2 > /sys/devices/platform/bone_capemgr/slots`. Then, set the baud rate with `stty -F /dev/ttyO2 9600` before launching `minicom -b 9600 -D /dev/ttyO2`. If characters you type echo back, the path’s solid-ideal whether you’re using an Arduino or BeagleBone or even swapping in an MSP430 launchpad later.
On a final note
You’ve got this: UART2 on your BeagleBone Black runs at 115200 baud, stable with a 3.3V level shifter, protecting its pins from Arduino’s 5V. Wiring TX to RX, RX to TX, and common ground works reliably-test with minicom loopback first. The Arduino Nano’s serial response times hit 2ms in real-world automation tests. This hybrid setup gives you Linux flexibility and real-time precision, ideal for robotics builds needing speed, control, and sensor data logging without lag or crashes.